Create the cutest mom T-shirt using Cricut Infusible Ink! Transfer sheets make tees just like the ones you'd buy in the store.
Unlike iron-on, the Infusible Ink seeps into the material for seamless integration! I made this “mom of boy” shirt with a blended Infusible Ink sheet.
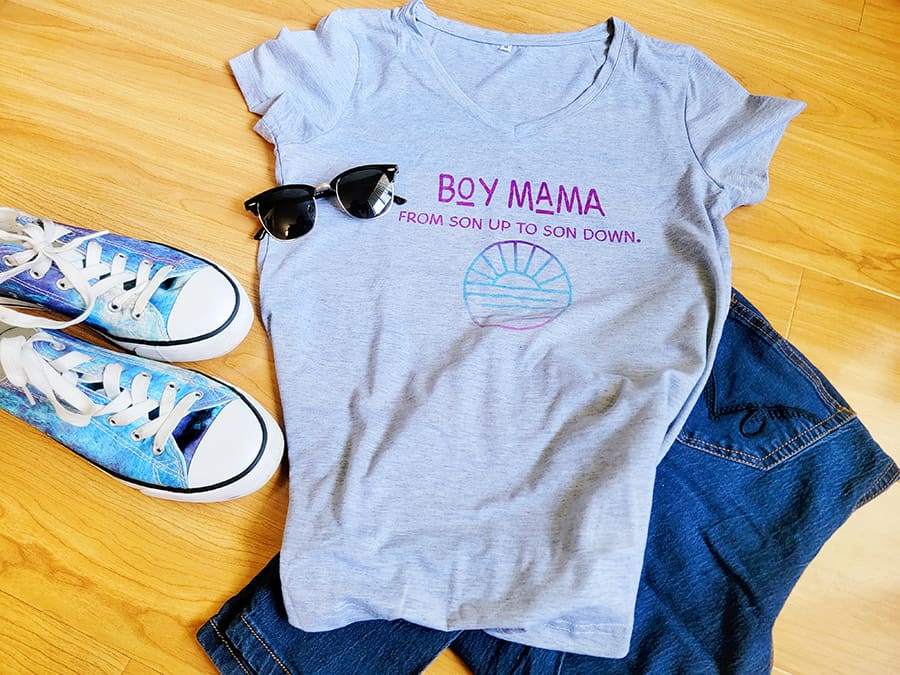
When it comes to your shirt design, the sky's the limit! For a detailed, step-by-step guide on how to use Infusible Ink on a grey shirt, be sure to check out our tutorial.
How To Use Infusible Ink on a Grey Shirt
Craft an eye-catching, customised grey shirt with Infusible Ink transfer sheets, a Cricut machine and a heat press. Elevate a plain fabric blank into a stunning piece.
After more information on how to use Infusible Ink? Read our Beginners Guide to Cricut Infusible Ink to learn all there is to know.
Supplies Needed:
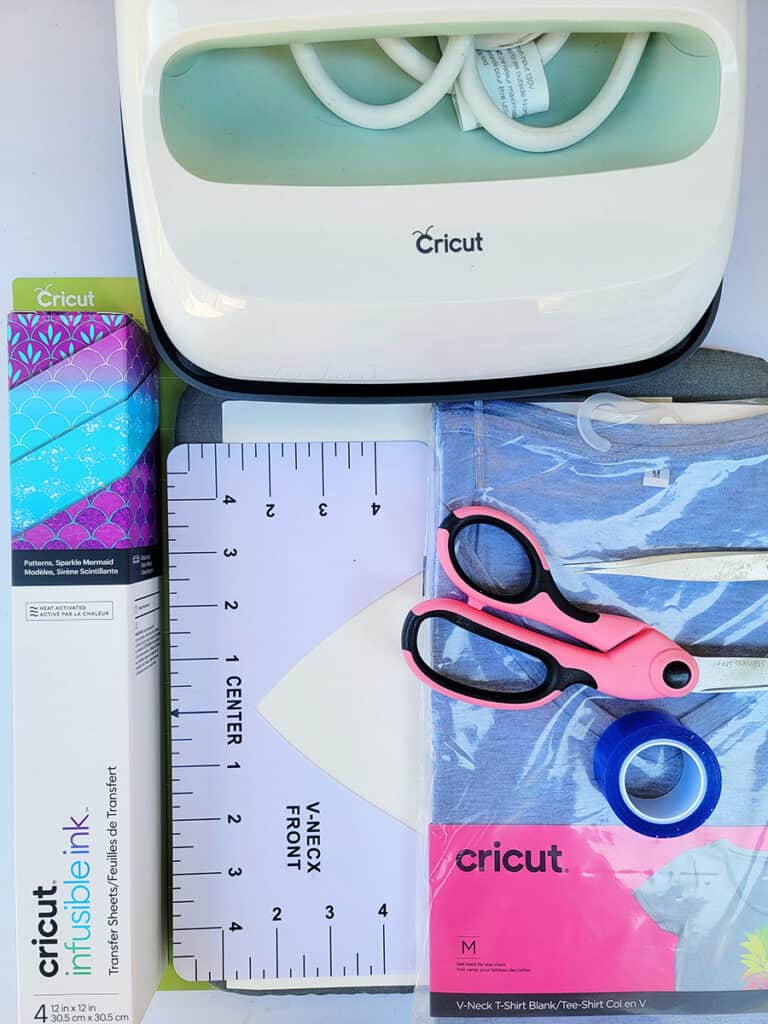
- Cricut Machine (Any of the Cricut Machines will do)
- StandardGrip Machine Mat
- Infusible Ink transfer sheet
- Butcher paper (comes with Infusible Ink)
- Cricut EasyPress
- Cricut Heat Mat
- Cricut Grey T-Shirt
- HTV T-Shirt Guide/Ruler (Optional)
- White Cardstock (80lb)
- Lint Roller (Optional)
- Scissors & Tweezers (you can get all these tools in the Cricut Basic Tool Set)
- Heat tape
Step 1: Download Design
Find below the step-by-step instructions on how to prepare your T-Shirt design.
- Start by clicking on this link to the project in Design Space. (Please note that the designs can be accessed through the Cricut Assess profile).
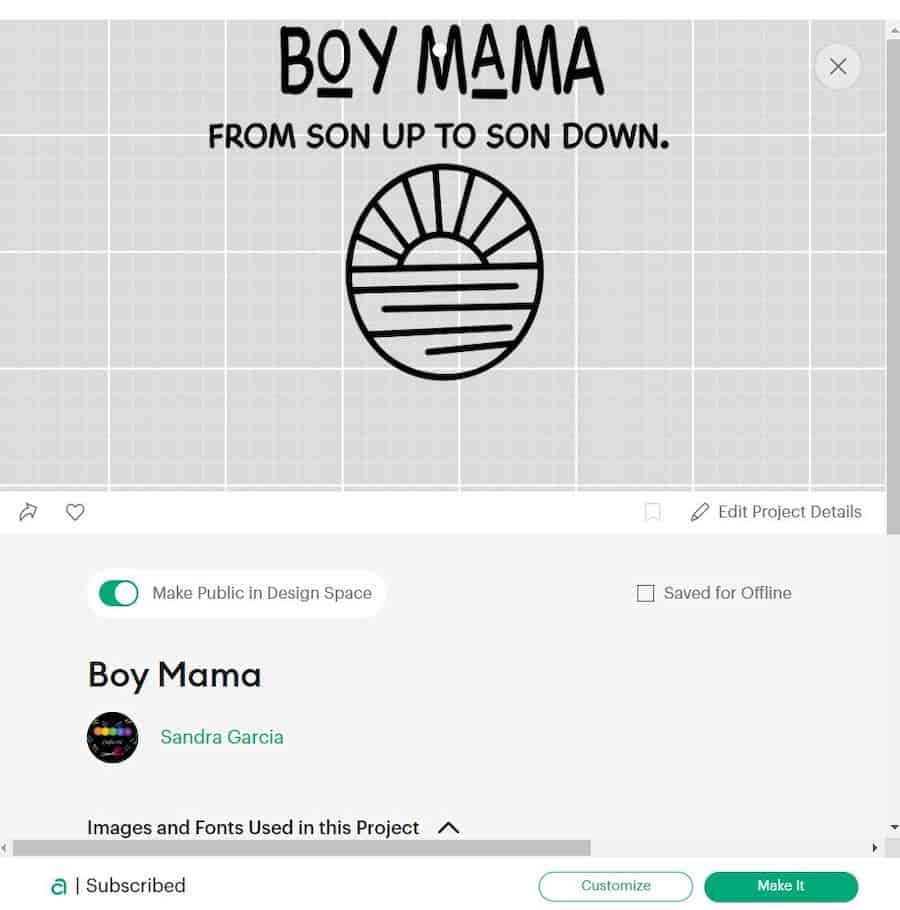
- After selecting “Open in App” and agreeing to Cricut's terms and policy, you'll be directed to either “Customize” or “Make It.”
NOTE: If you wish to adjust the size, you can choose the “Customize” option.
- Once you're content with the design, it's time to move ahead with cutting it.
Step 2: Cut Your Infusible Ink Sheets
Now it's time to cut your design. Remember to ensure your hands are dry and free of any oils or lotions before handling the infusible ink materials.
- Once you've customized your design's size and color to your satisfaction, click on the “Make It” button to finalize it.
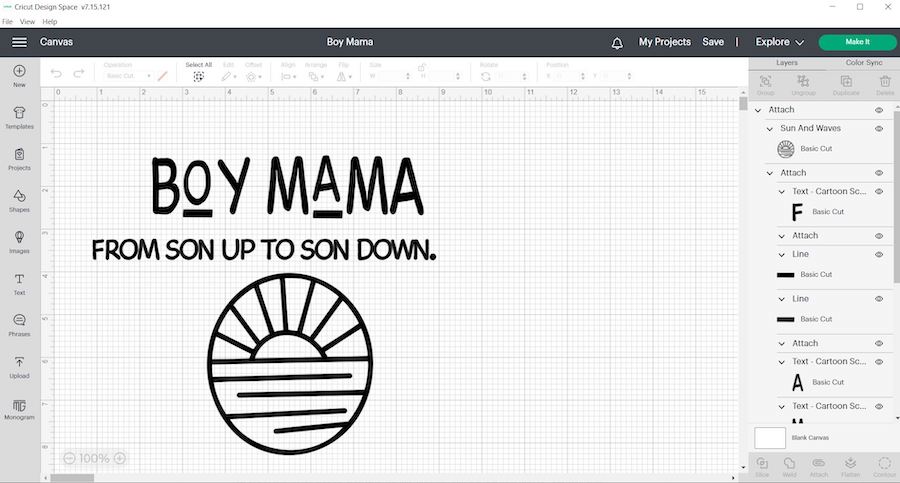
- Make sure to select “Mirror” in Design Space.
- Select continue and connect your Cricut machine.
- You can now select your preferred material and cutting settings (If you have an Explore Air 2 – Select “Custom” on your material dial for the Infusible Ink.)
- Navigate to the list of materials in Design Space and select the Infusible Ink Transfer Sheet.
- Place Infusible Ink Transfer Sheet onto a StandardGrip mat, liner side down.
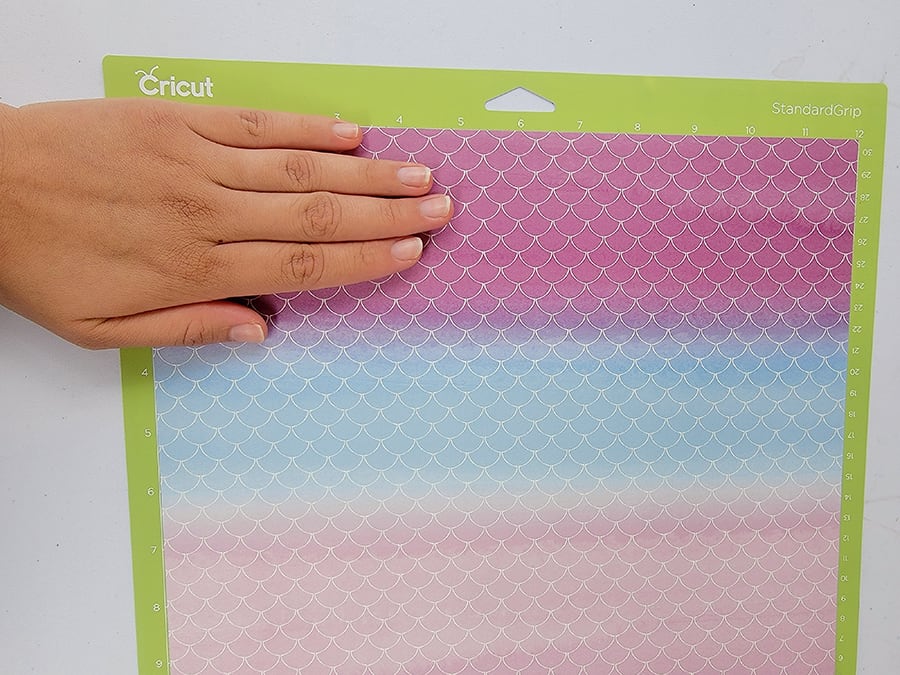
- Load mat and blade into machine, then press Go.
Step 3: Weed your Design
After the Cricut has finished cutting your design, it's time to weed out any excess vinyl so that you're left with just the design elements you need.
Weed out the excess parts of your design and keep only what’s needed.
- Remove the cut design from the mat
- Gently roll cut design so cut lines separate and are more visible. “Cracking” the cut this way makes it easier to remove excess paper from in and around your design.
- Gently lift the negative pieces in and around your design with your fingers or tweezers, making sure to leave the design on the liner.
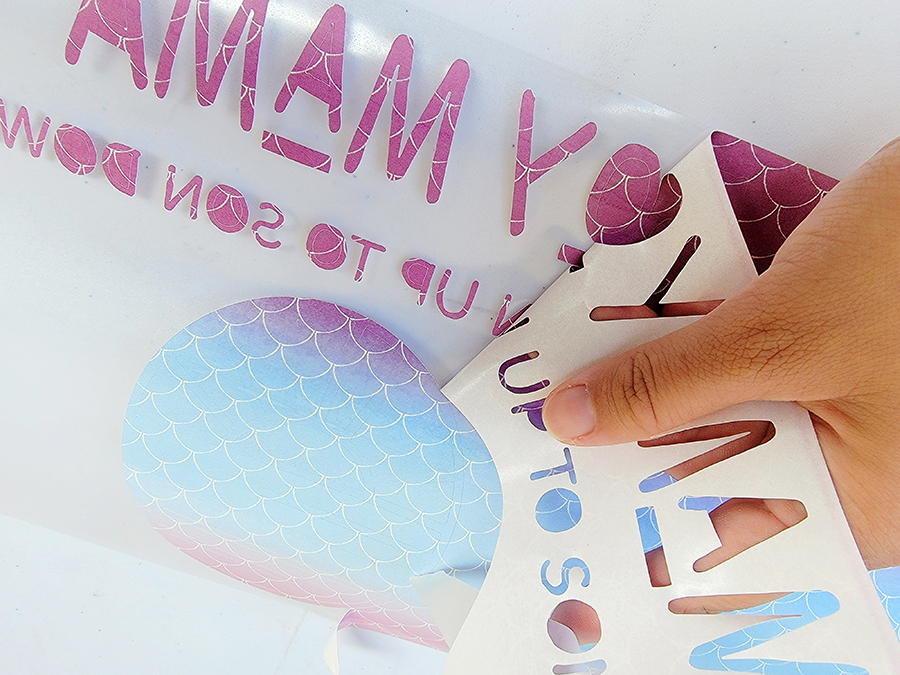
- Trim the clear liner to match the Cricut EasyPress heat plate and prevent ghosting. It's essential that the heat plate is bigger than the design to ensure a pro-level finish.
Step 4: Prepare the Blank
Now is a good time to prepare your Cricut Easy Press. For precise temp, time, and pressure settings for your project, always refer to the Cricut Heat Transfer Guide (or if you have our Cricut Cheat Sheets, simply find the settings in there).
- Do not skip this step: Before starting the transfer, ensure the surface is completely lint-free by using a fresh adhesive roller. Even tiny debris or fibers can cause imperfections in the final result.
- Cover blank with butcher paper. Important: Butcher paper must be larger than Cricut EasyPress heat plate.
Note: Infusible Ink Transfer Sheets include butcher paper in each package.
- To ensure optimal results, preheat the application area to remove moisture and wrinkles that can cause unwanted effects.
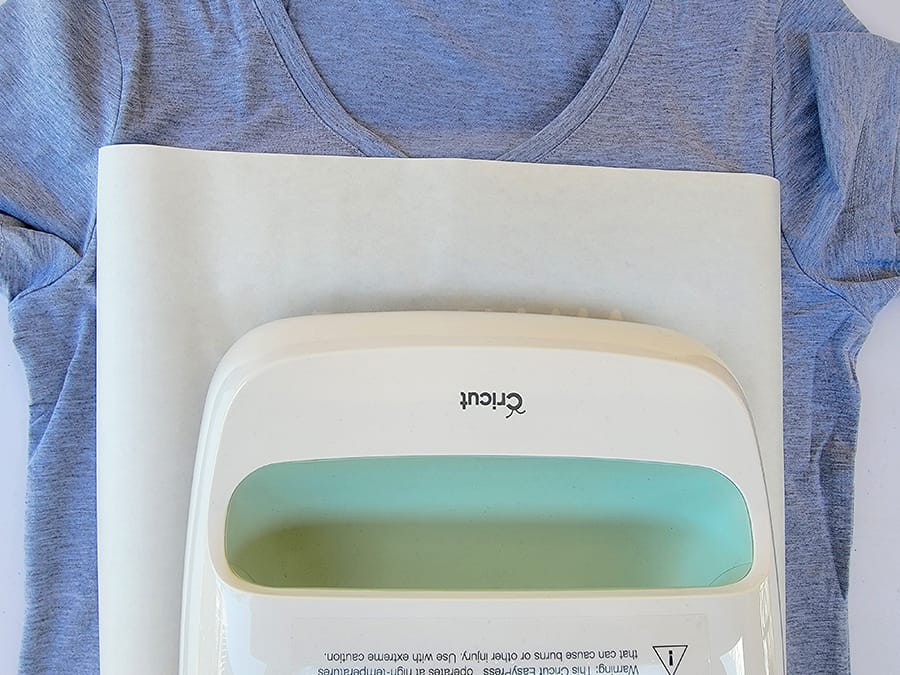
- Remove butcher paper and let the T-Shirt cool completely.
Step 5: Apply The Infusible Ink Design
Now it is finally time to get that awesome design onto the shirt.
- Insert a piece of cardstock (or printer paper) into the T-Shirt to safeguard your mat and project.
- Position the Infusible Ink Transfer Sheet face down onto the Tee shirt, taking special care to align it correctly. We like using t-shirt alignment guides that you can purchase from Amazon (link to the product here).
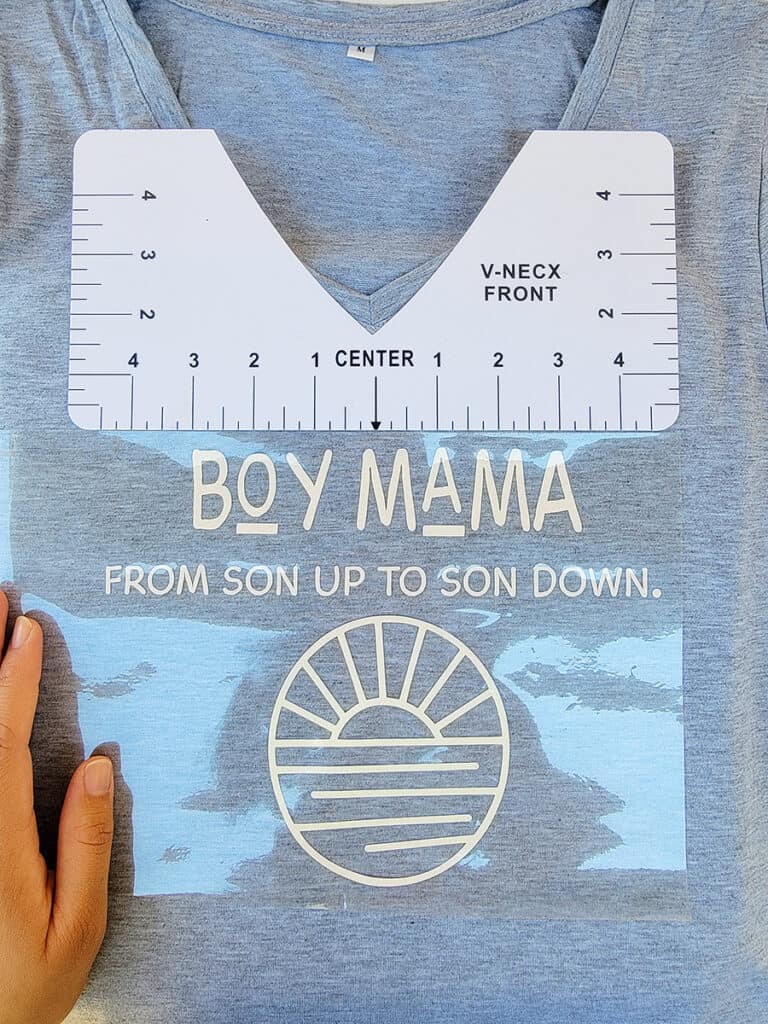
- Use some heat tape to secure your design in place and then remove the alignment ruler.
- Cover design with butcher paper larger than the Cricut Easy Press.
- Press your design onto your shirt.
- When the timer goes off, slowly lift the Easy Press.Try not to move the stack, including butcher paper.
- Let the project cool completely. Then slowly remove butcher paper and liner with design.
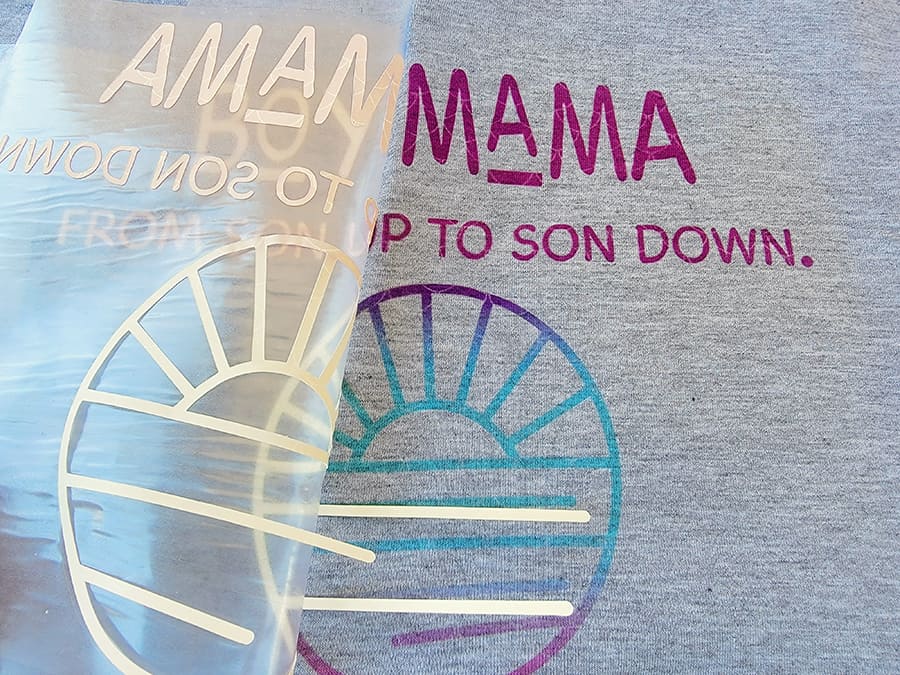
Important: If design separates from liner and remains on blank, remove with tweezers. Do not remove it using your fingers. This could cause unwanted effects, like ghosting or marbling.
Conclusion
Congrats, you did it! By now, you have successfully applied Infusible Ink on a shirt with your Cricut Easy Press. Read this post if you want to learn more about Cricut Infusible Ink.
This means that you can now make custom shirts with your own unique designs – perfect for any occasion. Whether you're looking for a personalized gift or just want to add some flair to your wardrobe, the possibilities are endless.
Get creative and let your imagination run wild!
Wondering what to make next? Find all our Cricut tutorials in our Cricut hub section on our site for more inspiration.
New to Infusible Ink? Follow our Cricut Infusible Ink Transfer Sheet Project Tutorials (Using ONLY Cricut Blanks) to learn more!
