Have you just purchased a brand new Cricut Maker? Soooooo Exciting right!? It can be slightly intimidating to unpack this gorgeous machine and to figure out how to set up your Cricut Maker correctly.
So today I wanted to share a super helpful guide with you. I will walk you through exactly what you need to do to set up a Cricut Maker, how to install Cricut Designs Space, how to connect your Cricut Maker via Bluetooth to your desktop, as well as how to make your very first cut with your Cricut Maker!
Let's get stuck into it. It is time to get your Cricut Maker out of the box.
How to Set up a Cricut Maker
It is pretty easy to get your machine set up and ready to go (when you have helpful steps to follow), so let's jump right into it.
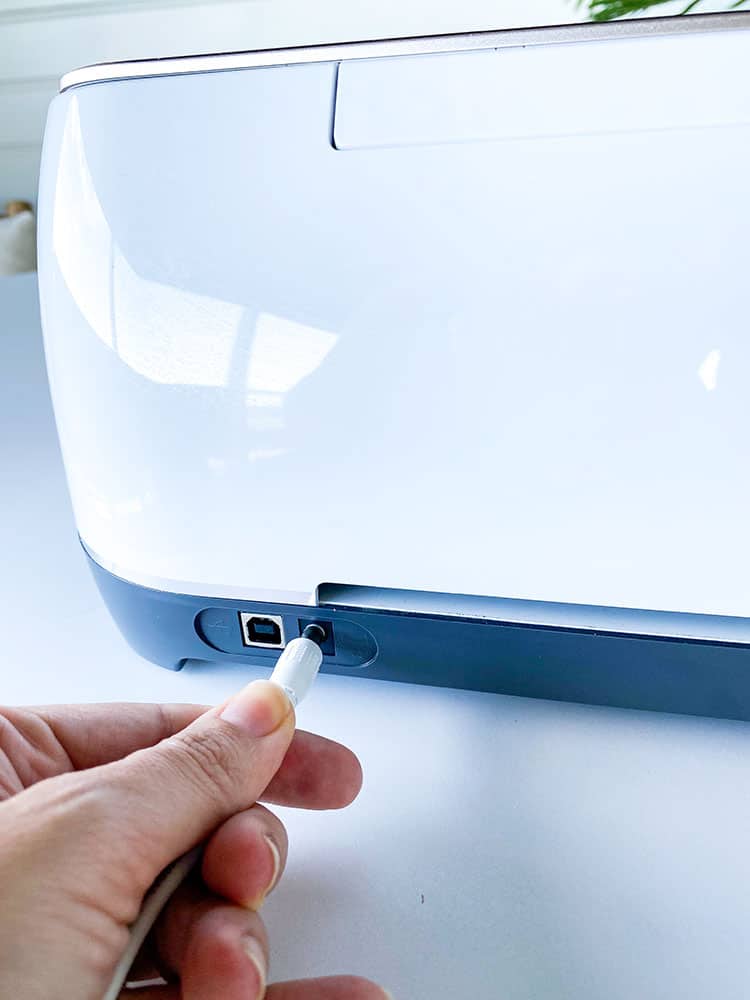
1. Plug-in the Cricut Maker
Using the round end of the power cable supplied in the box, plug it into the back of the Cricut Maker machine. Plug the other end into a power source.
2. The Spacing of the Machine
As the Cricut mats will go from the front, through the machine, and out of the back (back and forth), you will need to ensure that there is approximately 10″ clear space at the back of the machine so that the mat can move freely. So find an appropriate spot for it to live.
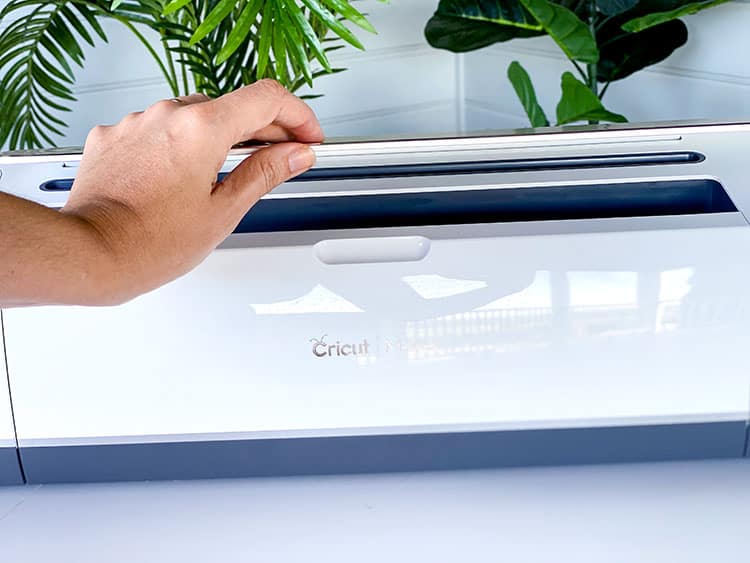
3. Open your Cricut Maker
You can open the Cricut Maker by lifting up the lid. When you lift the lid, the front flap will automatically fold out for you.
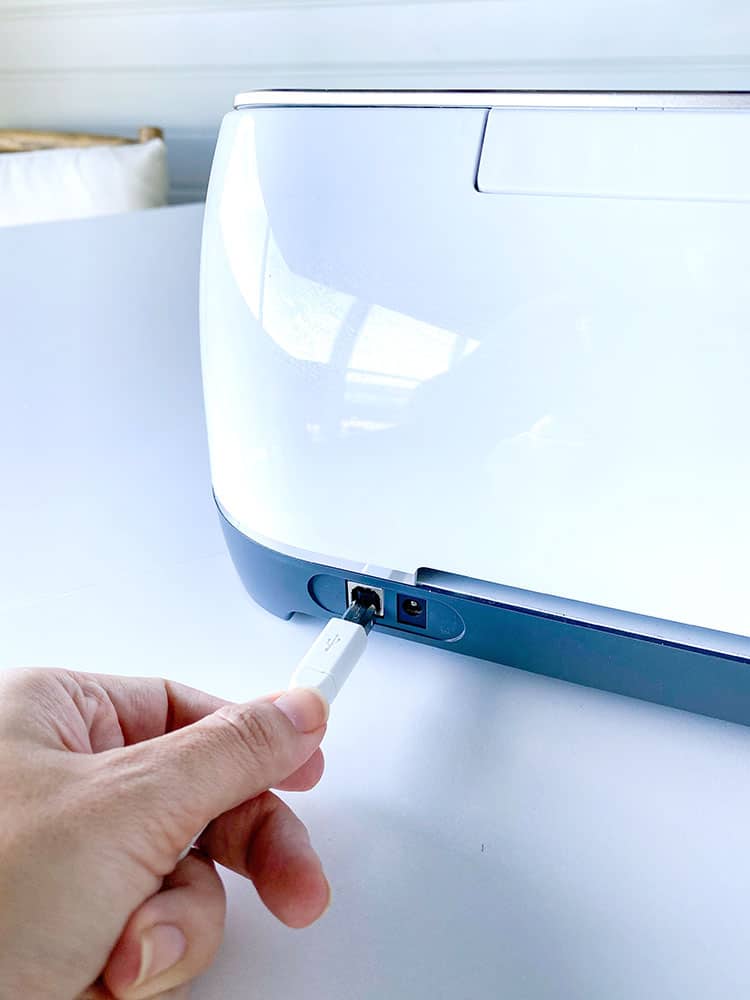
4. Connect the Cricut Maker to your Device
The Cricut Maker can be connected to your computer by using the USB cable provided in the box and plugging it into the back of the machine and into your computer. Now that we have your machine plugged in, let's remove some of the cables by connecting the machine to your desktop via Bluetooth.
How to Connect the Cricut Maker via Bluetooth
You can either use your Cricut Maker with the USB cord to connect it to your desktop device, or you can set it up through Bluetooth so that you can use your Cricut Maker in a different area to your desktop (so cord-free).
Step 1
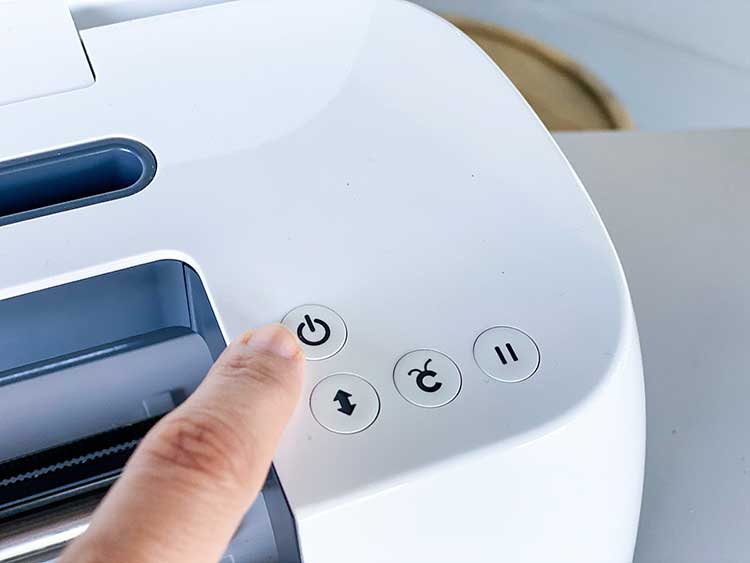
- To connect via Bluetooth, make sure your Cricut machine is powered on. Your Cricut machine must be within 10 feet of your computer.
Step2: Windows PC Users
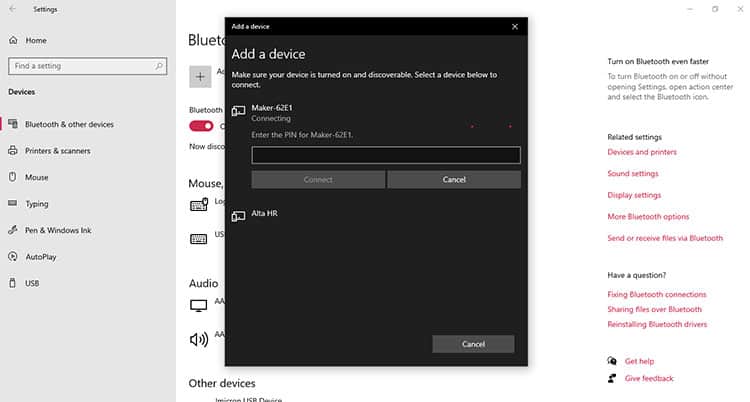
- On your Windows PC, open Settings on your computer and select Devices.
- Make sure Bluetooth is toggled on and select your machine.
TIP: If you don't see your Cricut in the list of devices, click on “Add Bluetooth or another device” and look for it in the list that pops up.
Step2: Mac Users
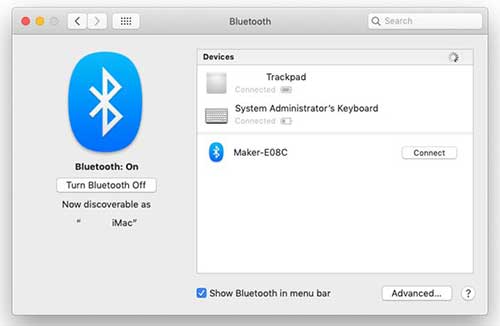
- On your Mac, open System Preferences and select Bluetooth.
- Your machine should appear when powered on, and you can click Connect.
Step3:
- If Cricut prompts you to enter a pin, type 0000 and hit enter.
- Select Connect.
How to Install Cricut Design Space on a Mac or PC
The Cricut Design Space is a free online space or program for you to create your designs in. Download the Cricut design space at design.cricut.com/setup. You can use this software on a laptop, iPad or Phone (via an app).
Download the Design Space Software
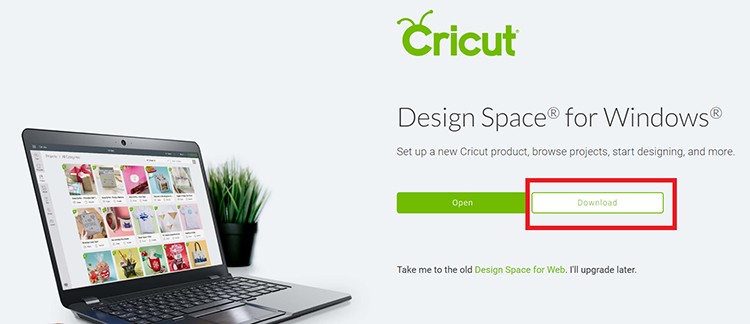
Go to design.cricut.com/setup to download the Design Space application. If you are on Windows, then you will see a Windows download. If you are on a Mac, then you will see a Mac download.
Click on the “Download” button, and the application will start downloading to your computer. Most of the time, the file will automatically be stored in your Downloads folder, but you may have the option to select where to save it. An installing window will appear for a minute or two.
Setup your Cricut Maker
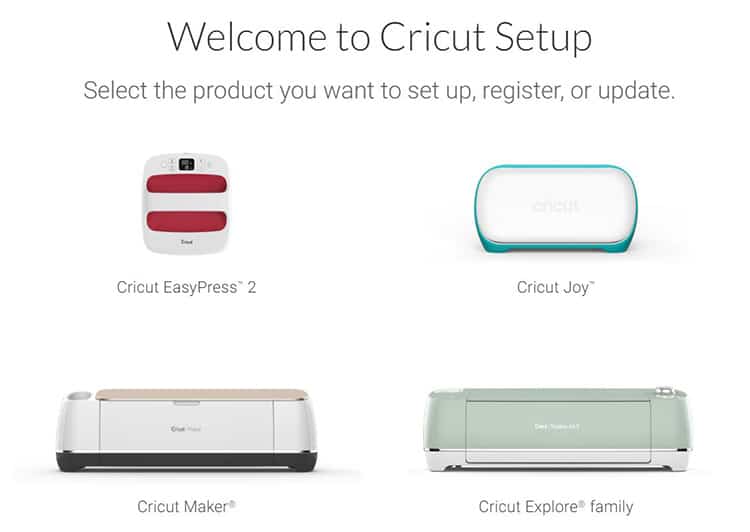
On the next screen, click on “Machine Setup” and then select the Cricut Maker.
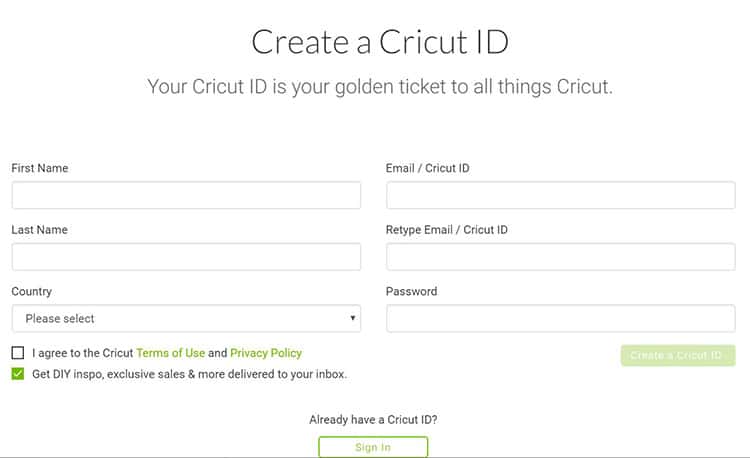
Create a Cricut ID
Once the desktop app is successfully installed, a Welcome Screen will appear. If you do not yet have a Cricut ID
(account), then create one now. If you have an account, then log in at this point.
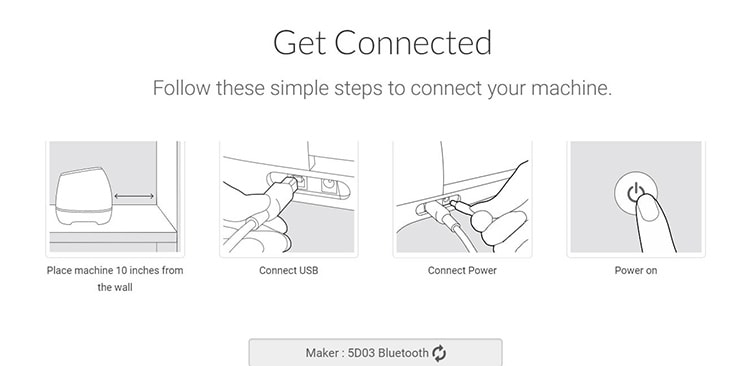
Get Connected
Follow the instructions on the screen in order to connect your Cricut Maker with Cricut Design Space.
Note: Your cutter HAS TO BE TURNED ON in order for the software to be able to connect to it.
Complete Installation [Plus Updates]
Click on “Update” if there are any new updates that need to be installed.
After the updates are installed, you will get to the Success Page! Click on “Continue“. The Software will automatically register your cutter on your behalf. Click on “Next“.
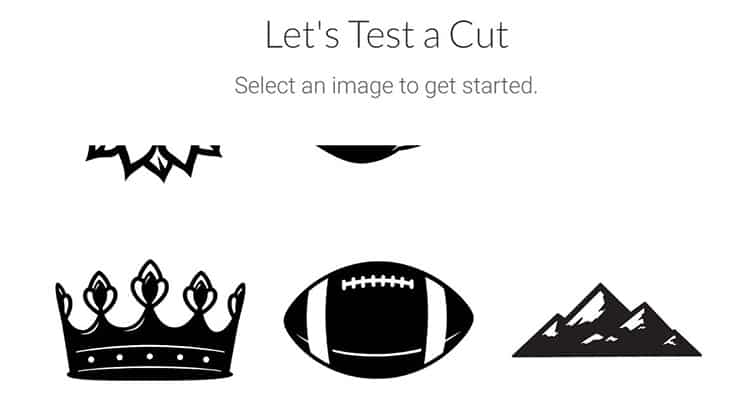
Making Your First Test Cut
- Next, select an image that you would like to cut for your ‘Test Cut‘.
Note: You can choose to skip this step if you wish.
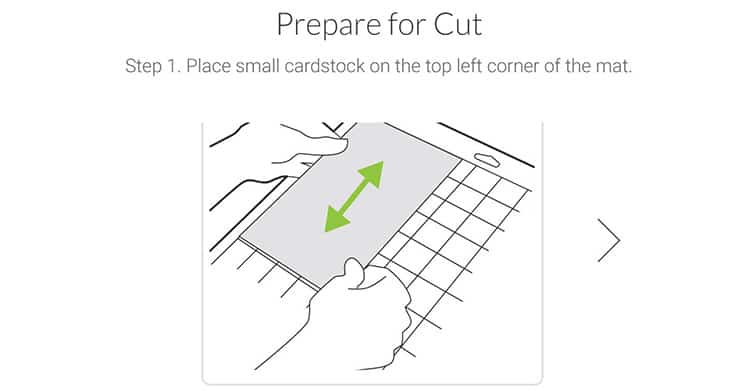
2. Simply follow the software instructions. It will walk you through each step that is required to make your first cut.
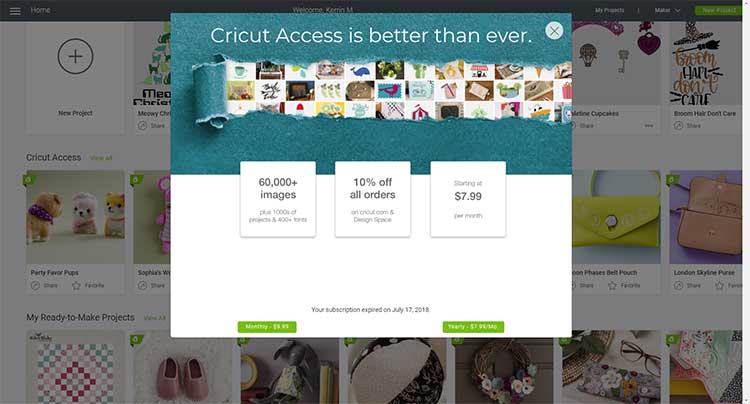
How to Claim your Trial Cricut Access Membership
Note
Purchasing a Cricut Access Membership through the desktop application is available only in the US, UK, and Canada. Other countries can try grabbing the membership through the Cricut Design Space IOS app.
Step 1
- Open your Cricut desktop application and sign in to Design Space.
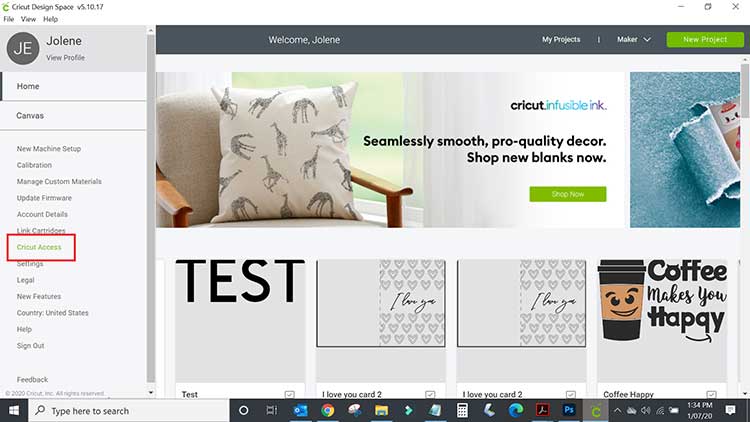
- Select the Design Space menu (☰) at the top left corner, then select Cricut Access.
- Review the plan options and select the appropriate button. Monthly and yearly plans are available and you will be charged after your free trial expires if you choose to continue.
Step 2
Enter and review your credit card details, then click Continue.
Step 3
Next, authorize your purchase by entering your Cricut password & selecting the Authorize button. You will only be charged AFTER your free trial has ended.
Conclusion
And now my dear friend, your Maker is ready to go! Not sure where to start? We have The Complete Guide to Cricut Design Space eBook that will walk you through all the functions of Cricut Design Space so you can go from beginner to pro in no time at all. Grab more information about our Complete Guide to Cricut Design Space ebook here.
After more resources? Hop over to our massive Cricut Blog full of projects, tutorials, reviews and guides. You will love it there.
Till next time,
xx Jolene

