Can you print on vinyl with an inkjet printer? Yes, you can!
Would you like to know how to print on vinyl using the inkjet printer that you have at home?
Whilst we prefer printing and cutting our vinyl with a vinyl die-cut machine, there can be reasons why you would need to use an inkjet printer instead.
It might be that you simply want to create once-off vinyl pieces and therefore don't want to invest in a machine that you will never use again.

But you might also want to use the inkjet printer for multi-color and complex designs; when layering won't work as well (and when you can't afford to upgrade to sublimation printers).
In this case, you might be after inkjet printable vinyl paper so that you can use it in combination with your favorite vinyl cutter.
So if you have been wondering if you can print on vinyl printer paper using your home printer, well then yes you can and we will show you how!
What you Need to Know about Printable Vinyl

If you wish to try printing on vinyl at home, it is so important to get the right type of vinyl. The vinyl you purchase MUST be print receptive.
This means that there should be a film coating on the vinyl printing paper that can act as a carrier for the ink. We want to make sure that the color won't bleed or fade and that the vinyl will actually stay adhered to our item.
So we have a choice of either finding a vinyl that has some sort of lamination as protection, or you will need to go a step further and actually laminate your vinyl design yourself.
We personally love using:
1. Expressions Vinyl Printable Permanent Vinyl Sheets
Expressions Inkjet Printable Vinyl Sheets is a permanent vinyl. It has a sticky adhesive and it comes with a clear laminate sheet that protects the ink from fading, bleeding, or scratching.
It does pretty well on items such as cups that will get wet.
>>> Click here to check current pricing for Expressions Printable Vinyl
2. Cricut Printable Vinyl
Cricut Printable Vinyl for inkjet printers is brilliant for things such as creating die-cuts and decals.
Is Cricut printable vinyl waterproof?
This vinyl doesn't hold up as well when it gets wet, so I would recommend this vinyl when you are creating colorful DIY vinyl decals and die-cuts that won't need to get wet.
>>> Click here to check current pricing for Cricut Printable Vinyl
3. Papilio Printable Vinyl Paper
Papilio Inkjet White Printable Waterproof Vinyl is another high-quality brand. The Papilio vinyl sheets are waterproof and if you add a laminate layer they will also hold up really well outdoors.
In my opinion, the Papilio vinyl paper is the best printable vinyl on the market!
>>> Click here to check current pricing for Papilio Waterproof Vinyl Sheets
Tutorial: How to Print on Vinyl Paper
Find below some helpful steps on how you can make your sticker and decal and get it printed out onto the vinyl inkjet printer paper.
Supplies Needed:
- Vinyl Paper for Printer – We recommend either Expressions Inkjet Vinyl, Cricut Printable Vinyl, or Papilio Waterproof Printable Vinyl
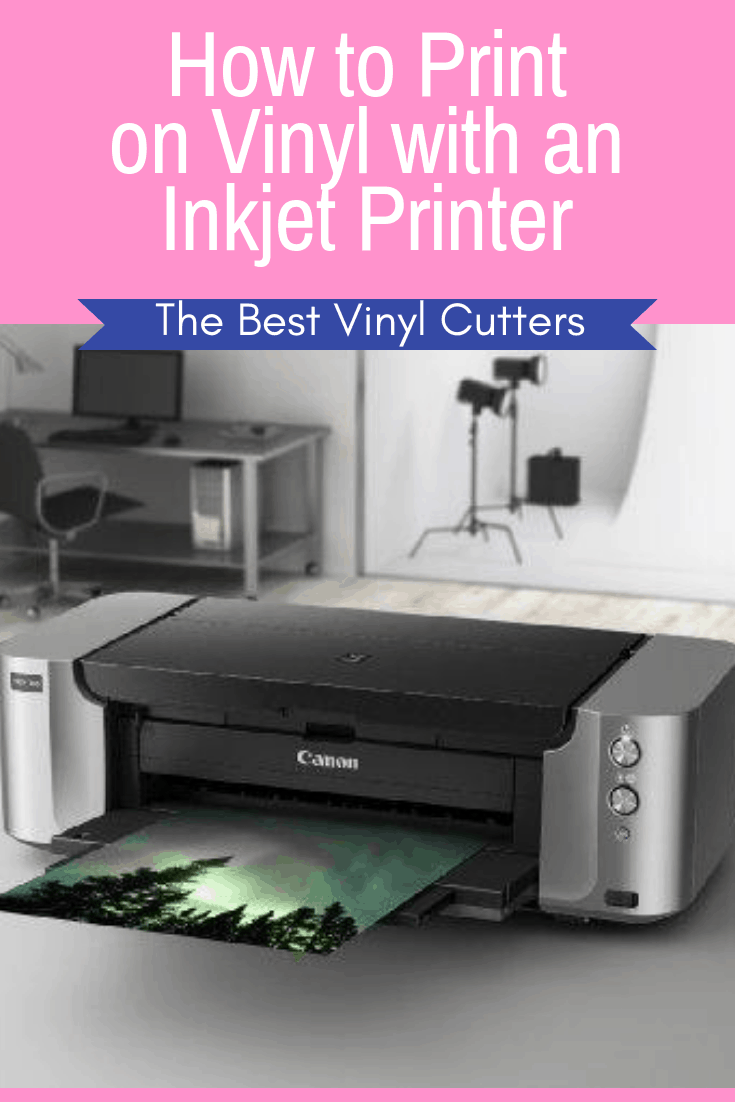
- Inkjet Vinyl Printer – We love our Canon® PIXMA® Pro-100 Printer
- High-Quality Over-Laminate Sheets or Crystal Clear Enamel
- Laptop/Computer
- Ruler
- Exacto Knife
Step 1: Create your own design

The first thing that you will need to do is to draw up inspiration for the designs you want to use. There are three ways for making your own personalized designs. Creating your own designs will be fun and show your artistic ability.
Below you can find ideas of how you can go about either finding a premade design or how you can go about making your own design.
Research other designs
Because there are tons of images online, you can search through the web browser and type in certain design images that you desire to create a sticker. Drawing inspiration from others is what may give you a boost in opening your own creativity.
You can search through a variety of stickers that are printable on vinyl by using simple keywords search such as “vinyl stickers,” “printable vinyl stickers” or “vinyl sticker designs.”
You might also like to check out our list of free SVG file downloads for those of you who use a vinyl cutter.
Use image editing software
There are so many software programs that'll provide you with tools for creating and editing images.
If you are someone who's competent in software such as Illustrator, and Photoshop, you can easily create your own images with the software's drawing and editing tools.
It is easy to learn how to use this particular computer software for image creating and editing.
If you cannot afford the Illustrator and Photoshop software, alternatives that are equally great and free software to use are Canva, GIMP, and MAGIX.
Sketch your own custom design
You can sketch several renderings of your own custom design before finalizing the design on a computer. The design image can be sketched on an 8×11 piece of paper and scanned to your computer.
Then you can begin to edit your design with any free photo editing websites like Pixlr, FotoFlexer, PhotoCat or Picfull.
Step 2: Printing your Designs on Vinyl
1. Using a Home Printer that Prints on Vinyl

1. Open a new document: Opening a new 8 x 11-inch document on your computer will allow you to edit and size the design image to your choice within the document.
2. Paste the design: You can copy and paste the design from the software that you've created it in.
If you are going to make multiple stickers, you'll need to paste the design or designs several times, orderly in a row.
3. Print preview: Preview the document to see how the stickers will print.
If your sticker design is cut off, you need to move it away from the margins to get a clear print of the designs. Also, don't overlap your designs.
4. Inkjet printer: You will need a 4-color Inkjet Printer with a 1200 dpi print resolution (Click here to see prices for the best printer for vinyl printing).
Load the inkjet printer with 8 x 11-inch printable vinyl sticker paper making sure that the adhesive side is up so that the ink prints on the non-adhesive side.
If you are not certain how your printer will print on the paper, it is safe to test print a sheet so you'll do it correctly the next time.
Printing on vinyl with an Inkjet printer is easy once you figure out what settings to use.
5. Print your design: You can now print your design. Navigate and locate the print option in the document and then press the print button.
You can use your printer settings to print a single copy or multiple copies.
You might need to adjust settings if your vinyl did not print properly. Check your quality settings, as well as your paper compatibility settings and try again.
You might find it helpful to watch this video on how to print on inkjet waterproof printable vinyl:
2. How to Print on Vinyl using your Cricut Machine

Here is some step by step instructions on how to print on vinyl using your Cricut Machine.
3. How to Use Printable Vinyl with your Silhouette

Here is some step by step instructions on how to use your Silhouette Machine to print on vinyl.
Step 3: Laminate and Cut your Sticker Designs
As mentioned before, we will need to apply a laminate layer over the vinyl sticker/decal to ensure longevity.
Some of the printable vinyl packs come with a laminate layer.
- Make sure to peel back the over-laminate slowly.
- Peel back the top of the laminate sheet (a small piece).
- Align it with the vinyl paper.
- Press down, and continue peeling back slowly running your fingers smoothly over the laminate to make sure it sticks to the vinyl sheet.
- Repeat running your fingers smoothly so there are no air bubbles.
- Cut out the laminated stickers. You could also simplify this process by cutting out your stickers with a vinyl cutter.
Here is a video that shares a few tips on how to get the best laminate effect:
Step 4: Adhere your New Vinyl Sticker/Decal to your Item
Peel off the vinyl sticker adhesive back and apply the sticker wherever you desire it.

Learning how to print on vinyl isn't as hard as it may sound. Easily design and print stickers with minimal tools to get you started.
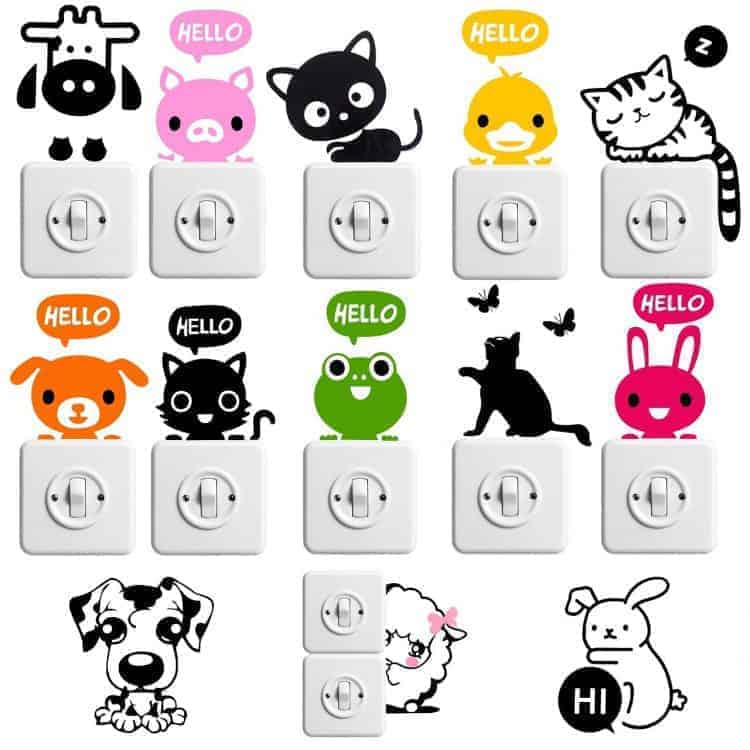
Stickers are popular as a playful or casual decorative symbol for kids, teens, and even adults. Stickers can even have a great impact when it comes to marketing to consumers as well as making sticker logos.
I hope you enjoyed reading this article and are now getting your tools ready for making some awesome stickers. ENJOY!

Thank you so much for the info. I have been wondering if i had to get a special machine or if i could use my canon and your tuturial is perfect
You can just use your inkjet Canon printer 🙂
Great information here.
My wife is just getting started making stickers. We have the Pixma Pro-100 as well. I typically print from Lightroom/Photoshop.
My question is what ICC Profile do you recommend to get accurate colors from screen to paper?
I am used to selecting paper, assigning profile to the image, adjusting then printing.
Any info will be helpful.
Thanks!
I commented but not sure it went through.
Which Icc profile do you use for printing?
Are you printing from Photoshop?
We have Cricut paper but not sure what icc profile to assign.
Hi David, it depends on which machine you are using to cut the design after printing. I typically use my Cricut to cut the designs, so I use Cricut Design Space to print-then-cut. I love to push the saturation of my image more than what I typically would so that I can get a super vibrant transfer.
Hi! I love your tutorial, we are trying to start creating our own sticker and just bought a new printer and Cricut. The printer we bought is the Canon Pixma G6020 and every time we print on the Cricut glossy Vinyl paper the in is wet an comes off the paper. Do you have a paper you can recommend for the printer we have and how to set the printer for stickers?
Hi Hector, these are a few vinyl paper products we recommend Expressions Inkjet Vinyl, Cricut Printable Vinyl, or Papilio Waterproof Printable Vinyl (you can find the links to each of these in this article in the Tutorial Section). Check your quality settings, as well as your paper compatibility settings, and try again. Each printer and ink used is slightly different, so I would suggest it will be a bit of trial and error until you find which settings work best for the printer and paper you are using. Thanks