We often have readers who ask us whether vinyl will stick to faux leather – or genuine leather for that matter. It is actually really easy to use HTV vinyl on leather.
I truly feel that gorgeous leather decals can just simply elevate any boring leather product to something luxurious, special, and unique.
So I wanted to show you how you can easily apply HTV on leather with a heat press machine.
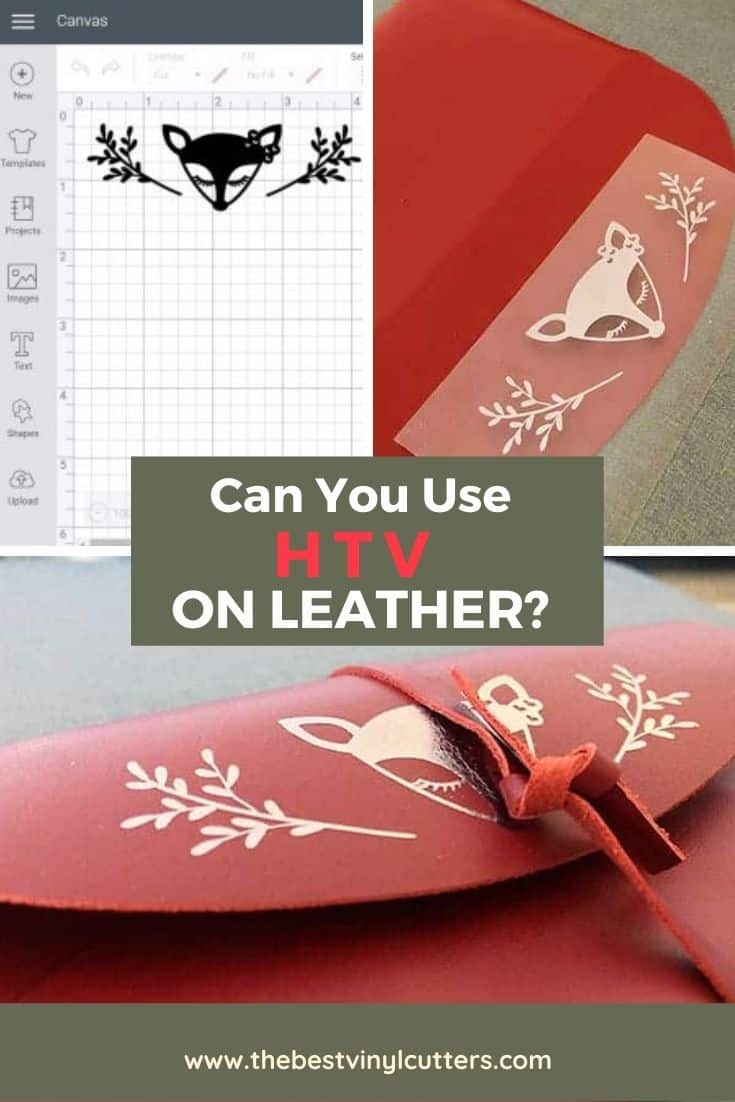
Heat Transfer Vinyl on Leather Project Supply List
Wondering if you can use HTV on leather?
Find below the supply list and the steps to follow in order to add heat transfer vinyl on leather.
Supply List:
- Cricut Maker
- Cricut Genuine Leather (I used the red – you can use a different brand of leather or faux leather too)
- Cricut StrongGrip Cutting Mat
- Brayer
- Cricut DeepPoint Blade
- Cricut EasyPress 2
- Cricut EasyPress Heat Mat
- Cricut HTV Pewter Foil (or your choice of HTV)
- Cricut Weeding Tools
- Baking Paper or Heat Transfer Paper
How to Apply HTV on Leather
Find below our steps on how to create a heat transfer vinyl for leather:
Step 1: Design your Decal
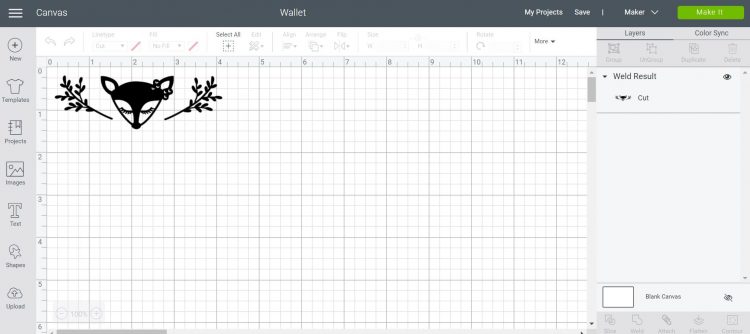
The first thing you want to do is to either upload a pre-made leather decal or create one yourself. The SVG I used from Etsy is no longer available but here is a SVG that is similar.
As I'm using a Cricut cutting machine, I will show you guys how some steps from the Cricut Design Space Software. The steps will be similar if you are using Silhouette Studio Designer or similar.
Measure out the area on your leather product that you want your design to fill. (I created a foldable leather wallet – instructions here).
Step 2: Mirro-Flip and Prepare to Cut
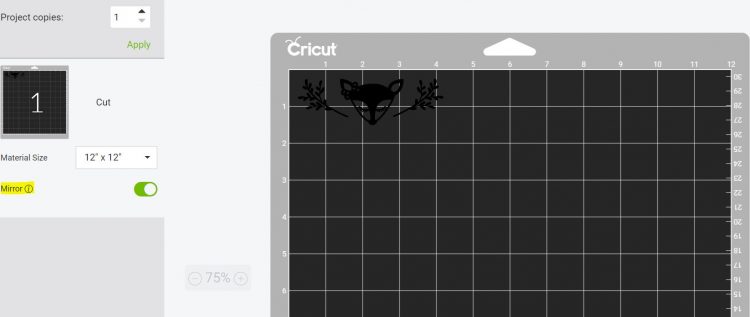
Next, click on “Make It“.
Remember to mirror-flip your image seeing as we are working with iron-on vinyl.
Select your iron-on vinyl from the material list and ensure that your standard blade is installed and ready to go.
Step 3: Cut The Decal
Place your HTV FACE DOWN (shiny side down) on the cutting mat because we want to cut the backing sheet. Load it up in your cutting machine.
You can find out what the best heat transfer vinyl is in our guide here.
I typically prefer to use Siser heat transfer vinyl, but for this project, I really loved the elegant feel of the Cricut Foil HTV range.
Step 4: Weed your Design
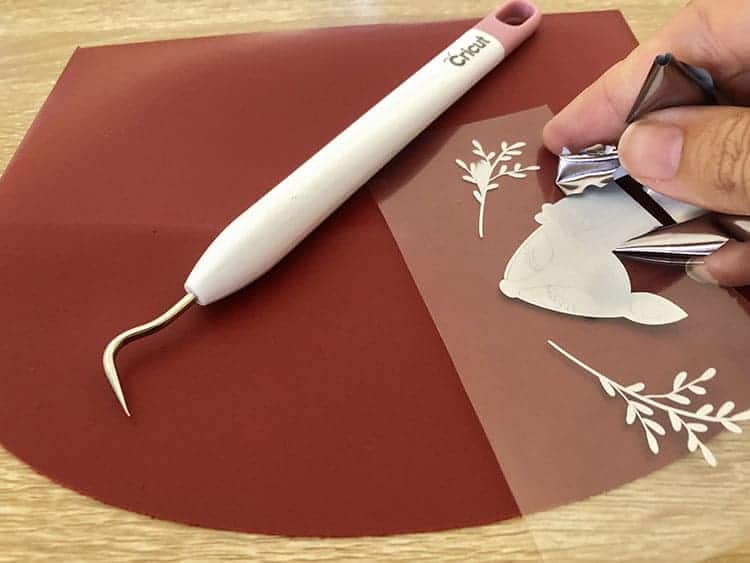
Next, is the weeding. So carefully peel back the excess vinyl. And then use your weeding tool to pick out all the finer details in the design.
- Here is our tutorial on weeding vinyl if this process is new to you.
Step 5: Prepare to Press HTV on Leather with a Heat Press
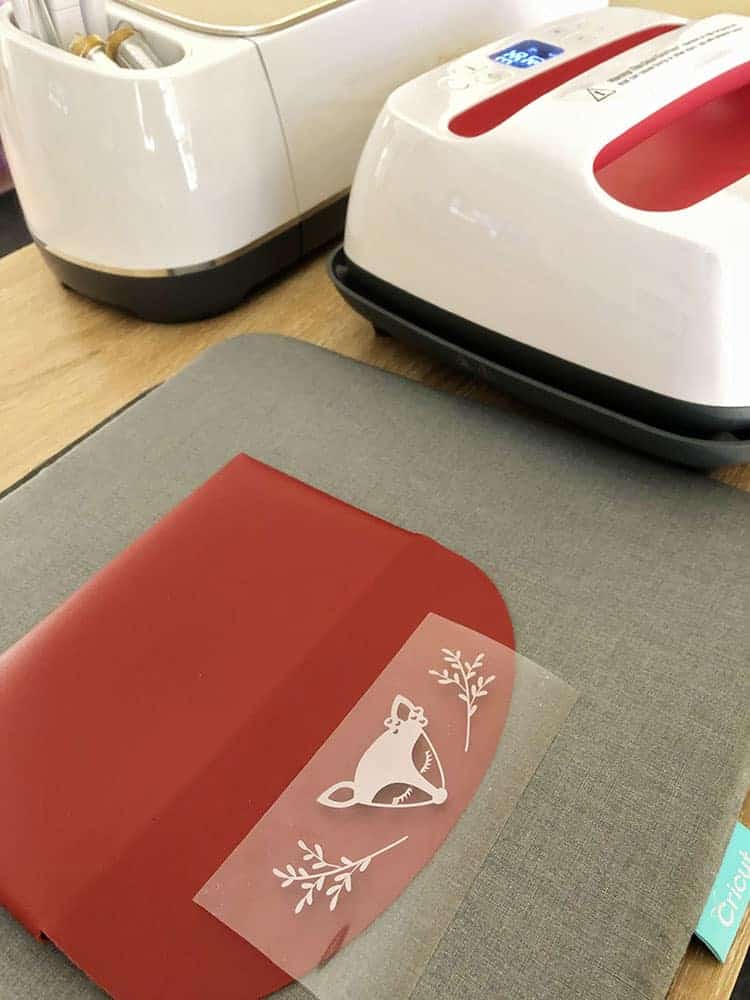
Carefully place your HTV leather decal on your leather product.
I wanted to add my face and vine leaves to the flap of the wallet. Place your item on a heat mat.
I was really worried about the effects of heat pressing my leather. So to protect that beautiful bright red leather, I ended up placing some baking paper over the design.
You can also use more official heat transfer protective paper for this, but I find that good old cheap baking paper works equally well.
Step 6: Heat Press Leather Iron-On Vinyl Design
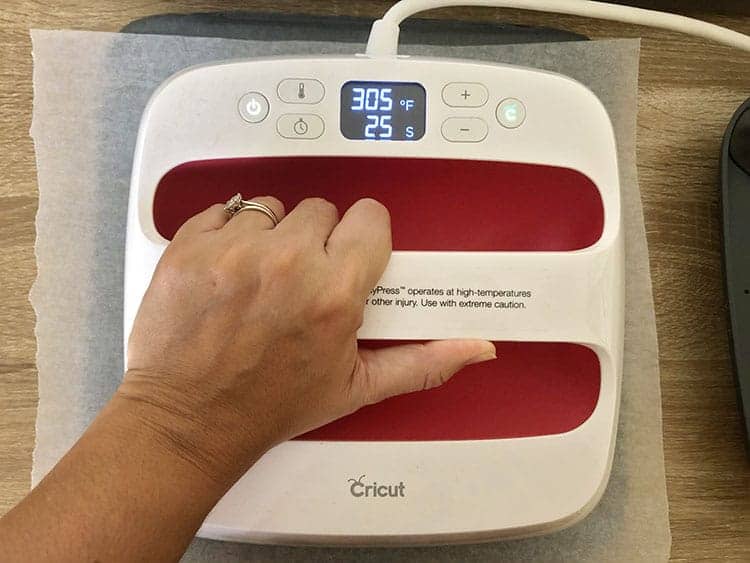
Heat up your Cricut EasyPress or Heat Transfer Machine.
Check the temperature and time settings for your specific type of HTV Vinyl.
You can usually find this on the info sheet that comes with the vinyl, or simply do a quick Google search to find the optimal settings.
For the Cricut Foil HTV I set my EasyPress to 305°F and 25s.
Next heat press your design onto the vinyl. Please make sure to check out whether the design has properly melded with the fibers of the genuine or faux leather.
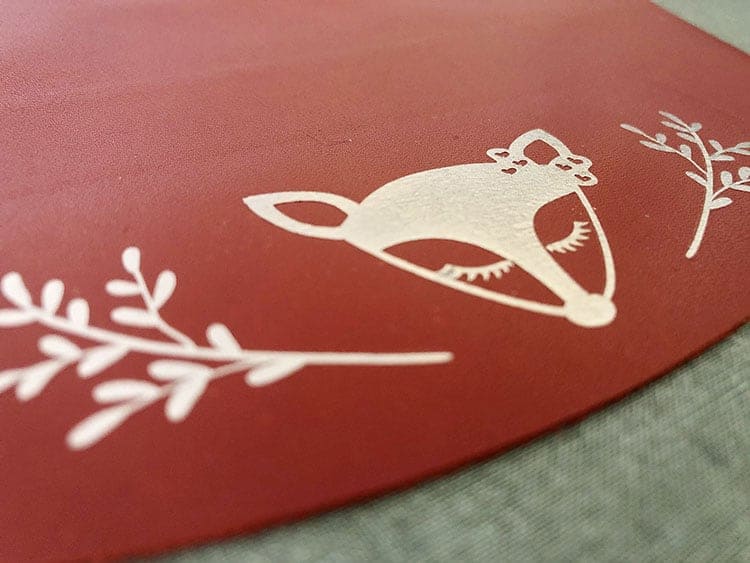
If you are happy, peel your HTV carrier sheet away. Check to see whether you should cold or hot peel as it will depend on your type of heat transfer vinyl.
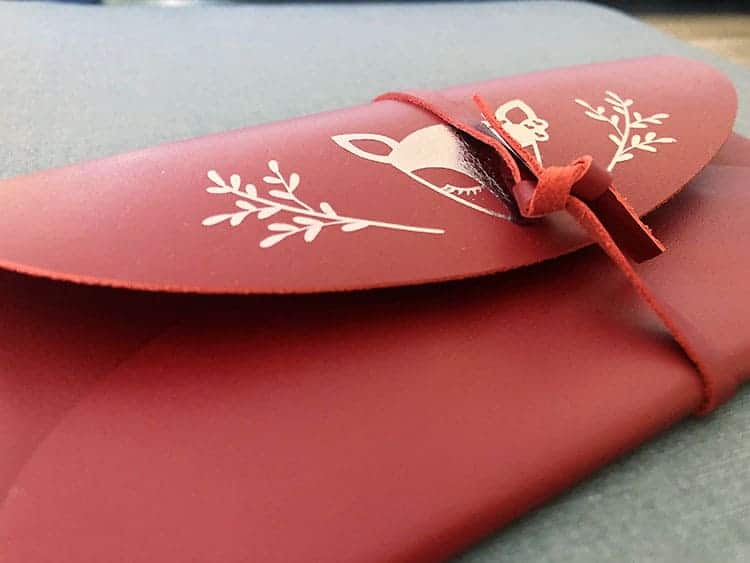
And there you have it – a new beautiful iron-on vinyl decal on your leather product.
FAQs About Using Iron-On Vinyl on Leather
Find below answers to some of the most frequently asked questions.
Many people recommend that you don't apply heat to genuine leather, however, I added a decal to the genuine leather wallet in the tutorial above with no issues.
So yes, you can apply HTV to both genuine and faux leather.
It's recommended that you test it on a small, inconspicuous area first to ensure it does not damage the leather. And make sure you protect the leather with a heat-resistant barrier, like a Teflon sheet.
The exact temperature and time will depend on the specific vinyl and leather materials you are using, so it's important to test on a small, inconspicuous area first to ensure that the leather does not get damaged.
It's best to follow the manufacturer's instructions for the specific HTV you are using, but in general, you may need to use a temperature around 250°F (120°C) and apply the transfer for about 5-10 seconds.
Cricut vinyl can be used on leather, but its ability to adhere to the surface depends on several factors, including the type of leather, whether there is a coating on the leather, and the application method used.
Final Thoughts: Can You Use HTV On Leather?
In this tutorial, you have learned how to easily apply heat transfer vinyl to leather. I hope you are feeling ready to tackle your very own leather projects.
Have fun and do let us know if you have any questions for us. Click here to grab even more inspiration on Cricut leather DIY projects or whip up some funky faux leather earrings.
We have plenty of Cricut tips and resources here, as well as loads of Homemade craft tutorials on our blog here.

I am so confused. The instructions for the HTV only states poly, cotton or blends. Doesnt say a thing about leather. Bow durable will this print be???
HTV is more commonly used on fabrics however over time many crafters have tried different materials to see what else it can be applied to. Leather is just one of the many other materials you can apply HTV on, you can also use it on canvases and I have even seen it applied to card stock or wood. The result is durable and will last however the factors that affect the durability will be the temperature and pressure used when pressing and also the quality of the HTV. Thanks!