Halloween is such a fun time of the year! And we all know how much kids love going trick-or-treating!
This year we wanted to whip up a Halloween lollipop craft tutorial for you guys to show you how you can take a cheap bag of lollipops and elevate them into a really cool Halloween treat.
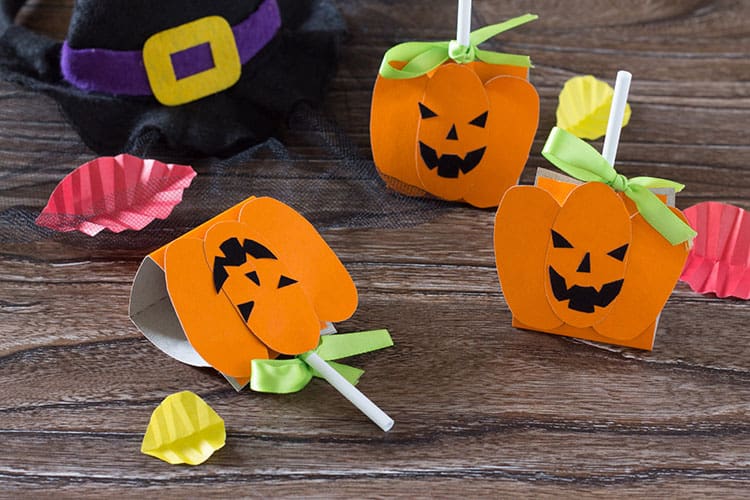
Alternatively, these are also brilliant to send with your child to school so that they can hand them out to their friends. Or if you are organizing a Halloween Party, these make brilliant party favors as well.
They are so easy to make that they are also truly an easy Halloween craft for kids to attempt as well. However, if your child is really young, you might prefer our Ghost Leaves Tutorial instead.
We also have some fun tips for those of you who have electronic cutting machines that we will share to make life even easier.
Find below our step-by-step instructions on these cool DIY Party Halloween Lollipop Gift Favor Craft.
DIY Party Halloween Lollipop Gift Favor Craft
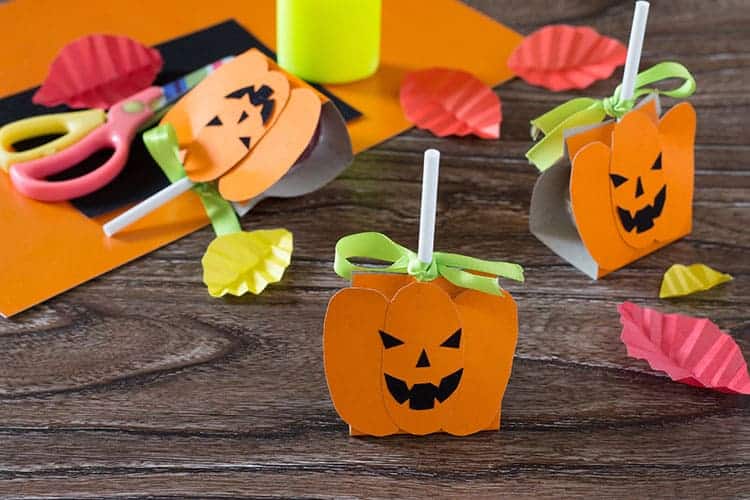
Find below the steps to show you how easy it is to whip up these cool Halloween Lollipop gifts.
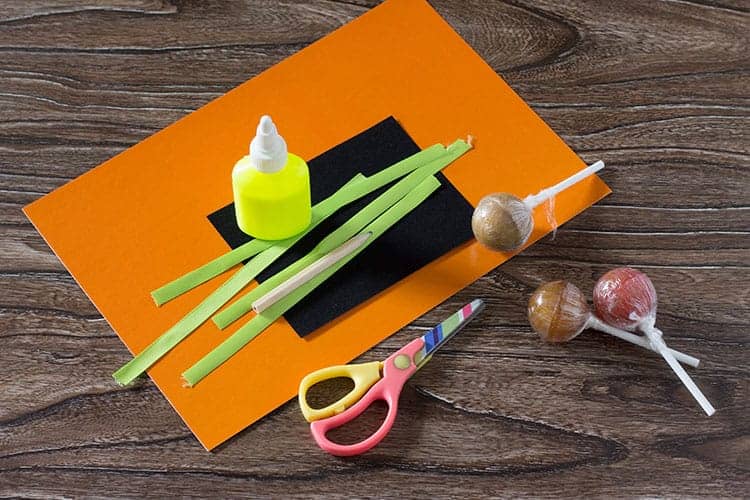
Supply List:
- 1 x Packet of Lollipops
- 1 x Bright Orange Cardstock
- 1 x Black Cardstock/Black Vinyl/Pumpkin Face Stickers (more on these choices in the instructions below)
- Light Green Ribbon
- Glue
- Glue Dots
- Scissors
Instructions:
Find below the instructions so you can easily recreate these adorable pumpkin lollipops yourself.
Step 1: Gather all the supplies so they are ready to go.
Step 2: Measure out your lollipops to figure out how large you will need to cut your rectangle strips. Add a cm on each side of the lollipop. You don't have to be precise with this, we just want the size to be more generous than the side of the lollipop.
Once you have your width worked out, cut enough rectangle strips for the number of suckers you wish to decorate.
Tip: A good sizing to try is 12cm x 3.5cm
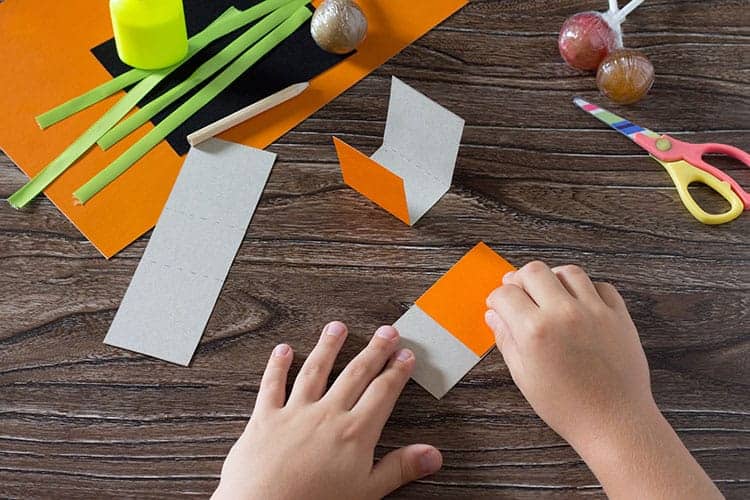
Step 3: Again measure the width of the lollipop so that you know how large the base of your design needs to be. We want the base to be pretty snug for the lollipop so it doesn't move around too much.
Mark the width with some pencil score lines – ensure that the base will be in the middle of your cardstock.
Tip: Score the rectangle strips at 4.5cm and 7.5cm along the long edge and see if this works out for your lollipop.
Step 4: Cut out three skinny oval shapes for each lollipop. Glue these onto the front of the lollipop strip.
Tip: I'm not too precise with my ovals, but if you wish you could try to use a large oval punchlarge oval punch to do the job for you.
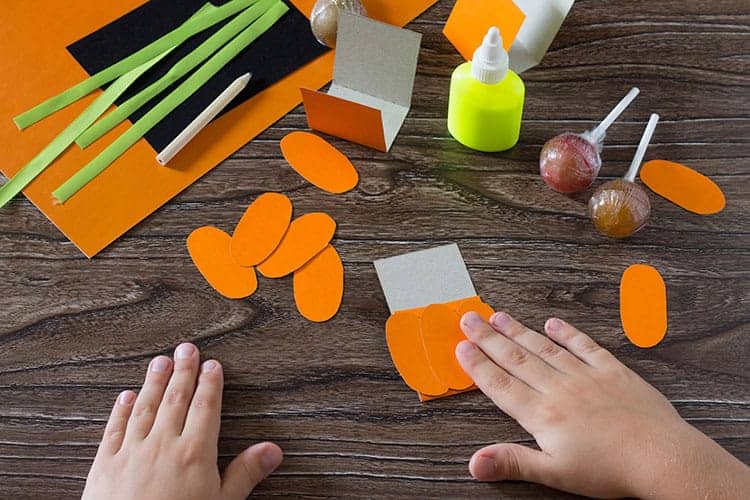
Step 5: Time to make the pumpkin face and there are a few different ways that you can do this.
Ideas
1. Use a black marker and simply draw it on.
2. Cut out small pieces from black cardstock and glue it on – but really who has the time.
3. Grab some black pumpkin face stickers – see if they have any in the dollar stores.
4. If you have a Cricut cutting machine, you can simply grab the Jack-O-Lantern Face (#M8997DFB) image from the Design Library and create your own stickers on some black vinyl or sticker paper – super easy!
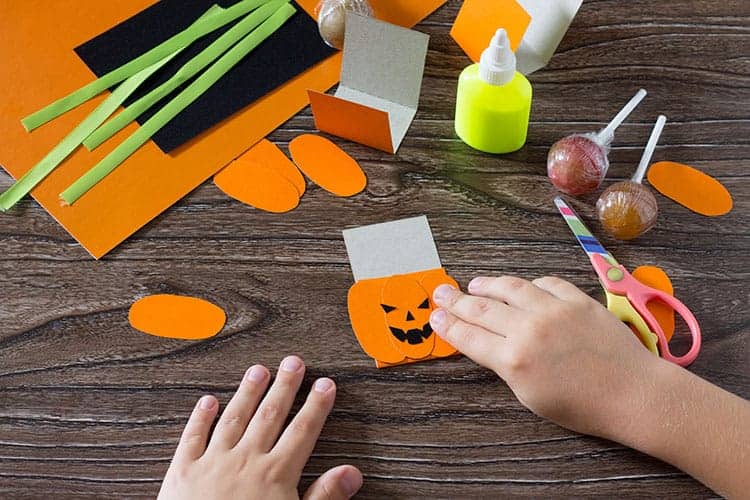
Step 6: Fold the orange strip of cardstock around the lollipop. I love to secure it in place with a glue dot on each side of the lollipop stick.
Step 7: Tie little green bows around the stick to finish off your cool Halloween Suckers.

Guys and there you have one adorable DIY Halloween Pumpkin Sucker.
What can you do with these babies?
- If you are a teacher, these would make great treats to hand out for your students.
- If you are a child, you could hand these out to your friends at school.
- If you have a party, you could use these as Halloween Party Favors.
- You could use them for trick-or-treating.
They are cheap to make and easy to make and if you happen to have a vinyl cutting machine on hand, you could even cut and score your orange strips for the lollipops, as well as get the machine to cut out your ovals and create some face stickers.
Did I mention that I LOVE my electronic cutting machine? I have the Cricut Maker 3!
But enough of the machines. Enjoy whipping up these cool Halloween pumpkin lollipops guys.
More Halloween Crafts from Our Blog:
