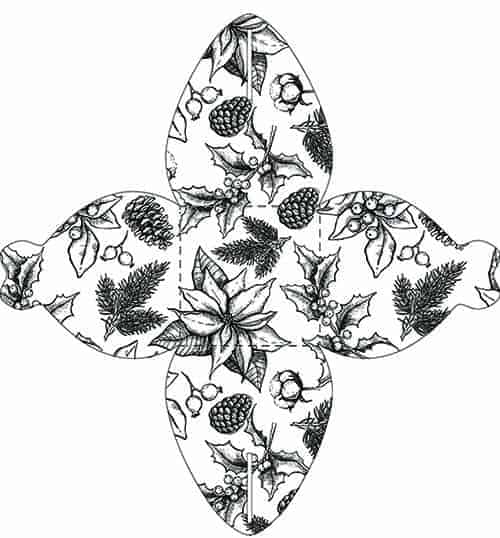
Time for some trick-and-treating?? We have the perfect DIY Halloween gift bag ideas – they are cute, cool, and look so nifty!
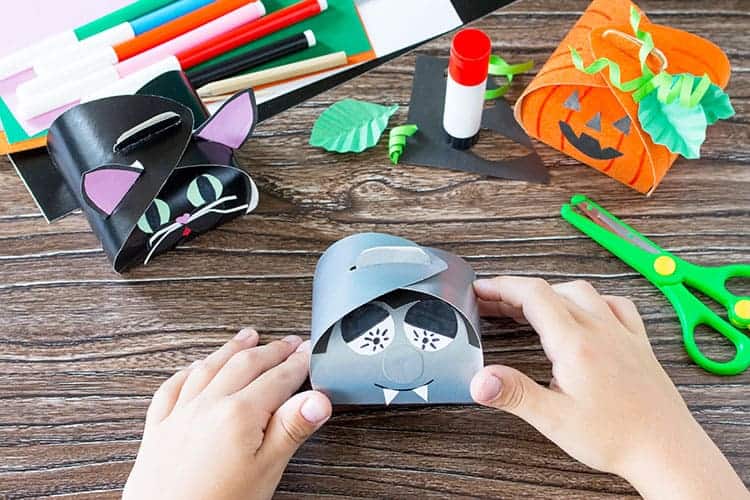
The perfect match between a scary Halloween pumpkin, a black cat, and a vampire!
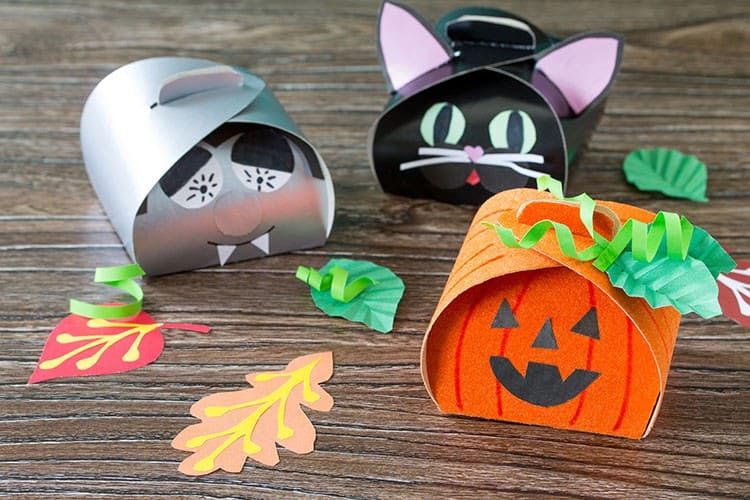
Our Halloween gift box tutorial is so easy that even older kids can attempt them – especially if you pre-cut the template and have the face pieces ready to go.
You can fill these babies will all sorts of amazing things – see the bottom of the post for a whole list of nifty ideas.
Ready to get your craft game on? Let's go!
DIY Halloween Gift Box Tutorial

Find below the steps to show you how easy it is to whip up these cool Halloween gift bags.
Supply List:
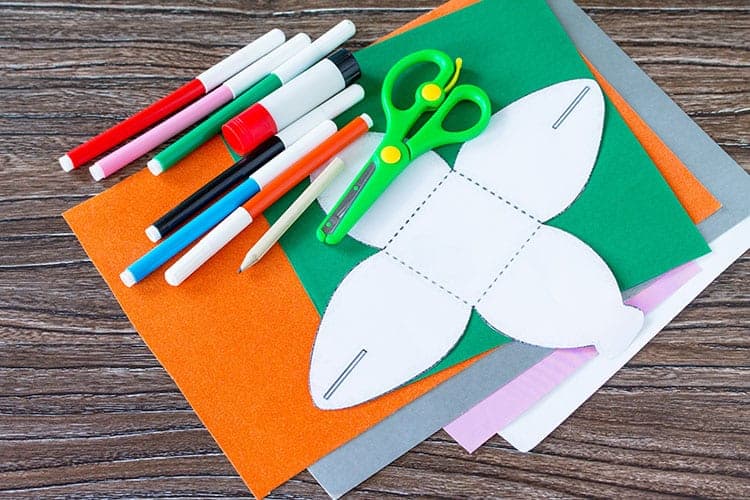
- Bright Orange Stiff Felt
- Cardstock: Shiny Black, Shiny Silver
- Paper: Green, Light Pink, White
- Markers: Orange, Red and Black
- Light Green Curling Ribbon
- Scissors
- Glue (I prefer a glue gun but if kids are involved I would stick to normal glue)
Halloween Box Template
Before you get started you will need to grab the Halloween candy box template to use. There are two ways of going about this.
1. Click to open this template and simply print it out on some cardstock. Cut around your template and use this to cut out your box templates.
2. If you have an electronic cutter, you can simply upload this image to your software and cut it out directly onto your felt or cardstock (which saves you time from doing this by hand).
Tip: I love my Cricut Maker Cutter and you can upload the images to Cricut Design Space or if you prefer you can purchase a similar Cricut template (#M37D0F) for $0.99.
Instructions for the DIY Halloween Gift Bags
Find below the step-by-step instructions on how to whip up these cool DIY Halloween goodie bags.
Step 1: Either use the box template to trace and cut the shape from your orange felt or use your electronic die cutting machine to cut out the felt material for you (as mentioned above).
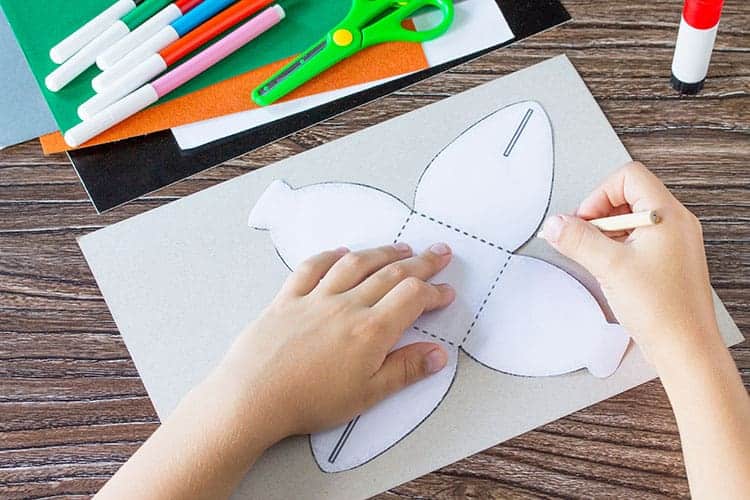
Step 2: Score and fold your box template.
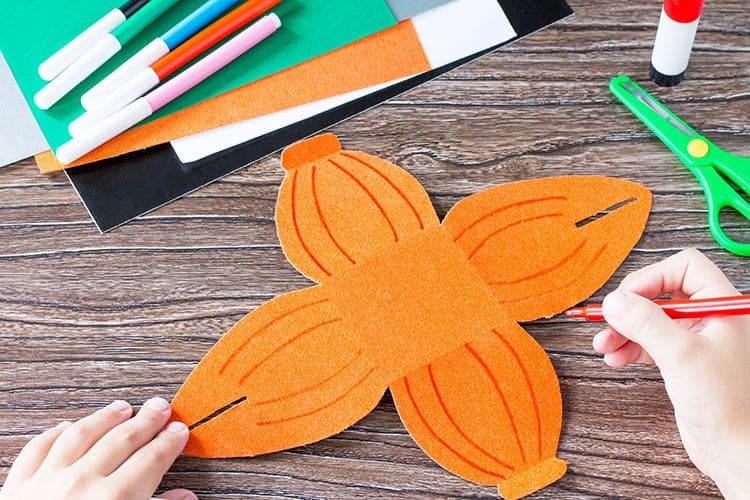
Step 3: Use the dark orange marker to add some pumpkin lines on the orange felt – see image below for example.
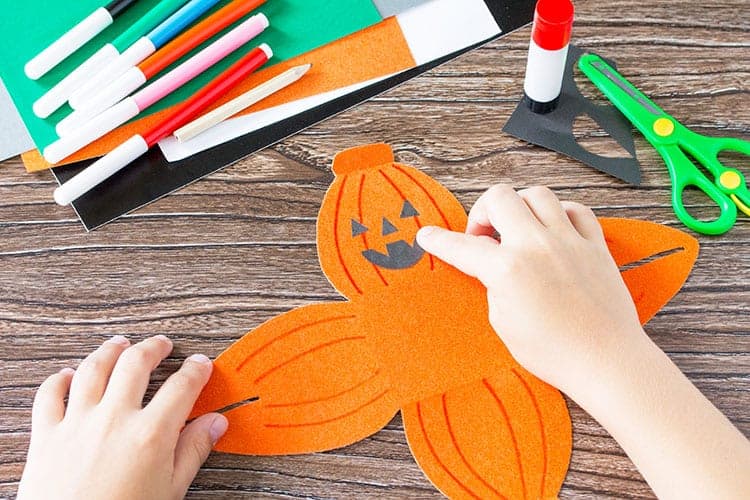
Step 4: Add a face to your pumpkin, here are some ideas on how to do so.
Ideas
1. Use a black marker and simply draw it on.
2. Cut out small pieces from black cardstock and glue it on – but really who has the time.
3. Grab some black pumpkin face stickers – see if they have any in the dollar stores.
4. If you have a Cricut cutting machine, you can simply grab the Jack-O-Lantern Face (#M8997DFB) image from the Design Library and create your own stickers on some black vinyl or sticker paper – super easy!
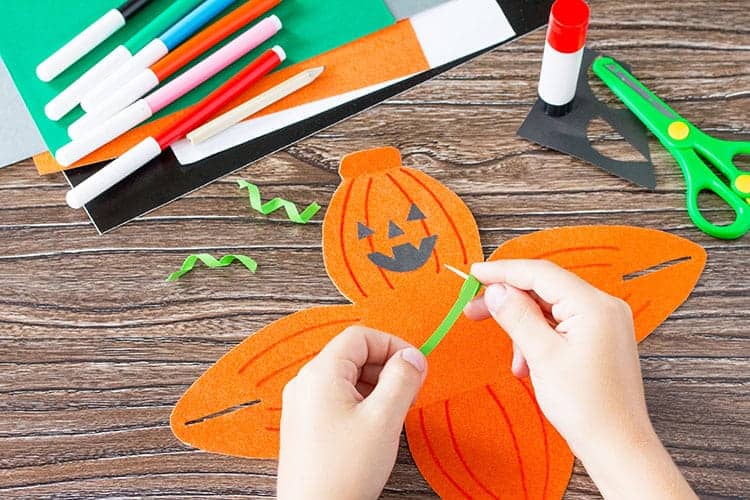
Step 5: Cut 3 x small strips from the light green curling ribbon – I love to use my scissors to curl these up, but if you are doing this activity with a child, you might prefer to use a toothpick or similar to curl it up.
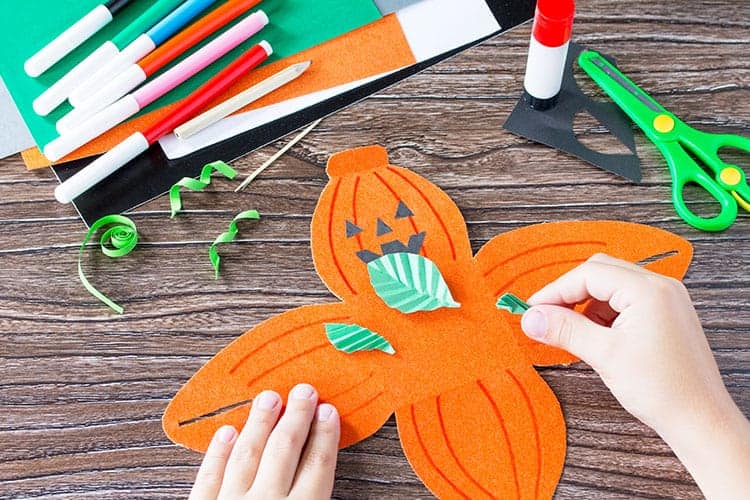
Step 6: Cut our two leaves from your green paper. Fold this leaf in half and whilst folded in half, accordion-fold the leaf up. Then simply open it back up.
Step 7: Fold your felt to create your box – would suggest you add in your lollies or gifts etc at this point.
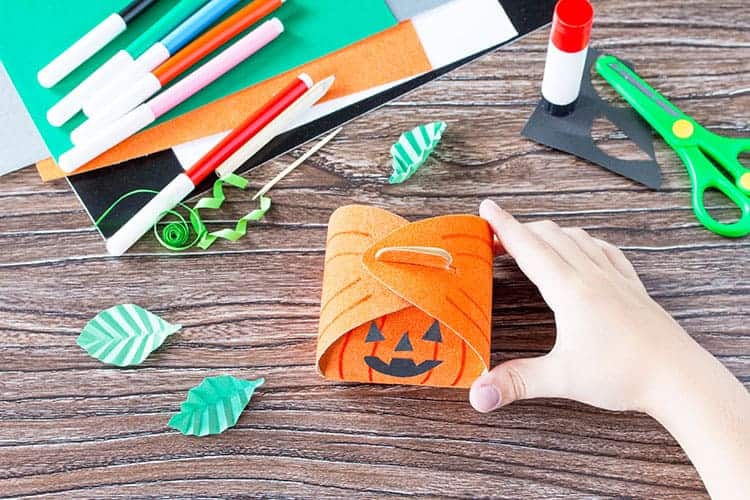
Step 8: Finish your box by adding your curling ribbon and leaves.
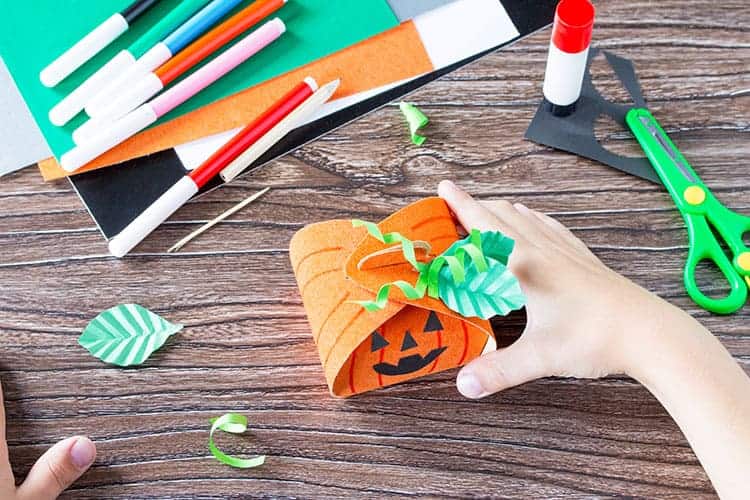
And your first adorable box is done, now time to whip up the other two Halloween treat boxes.
Whilst I won't be sharing the step-by-step instructions for those, you can follow the same process and use the bottom image as an example of how to decorate them.
What to pop in your Halloween Gift Box:
- Pop some fun Halloween Sweets in your box.
- Pop some cool Halloween Party Favors in your box.
- Pop a gift card in the box.
- Add a trick in the box – nothing worse than thinking you are getting something nice and inside is something dodgy haha.
- Add some cool Halloween Socks or some naughty Halloween Undies in the box.
- What about some cool stationery, like these adorable Halloween Erasers or maybe some fun Halloween Stickers.
So now that you are full of ideas and full of inspiration, how about you get off the computer and get crafting!
And whilst you are busy crafting, we are two more great Halloween Craft Tutorials for you:
- Scary Halloween Leaf Ghosts with Maple Leaves (Perfect for the littlies)
- DIY Halloween Suckers
- Cricut Halloween Pumpkins
- Cricut Halloween Ideas

