Have you just purchased your first Cricut machine and feeling a bit confused about which of the Cricut blades to use for your next project? Maybe you would love more info on which additional blades to purchase or maybe on how to keep them sharp for longer.
We have compiled a super handy guide for you all. (Will update this soon with the new QuickSwap blades)
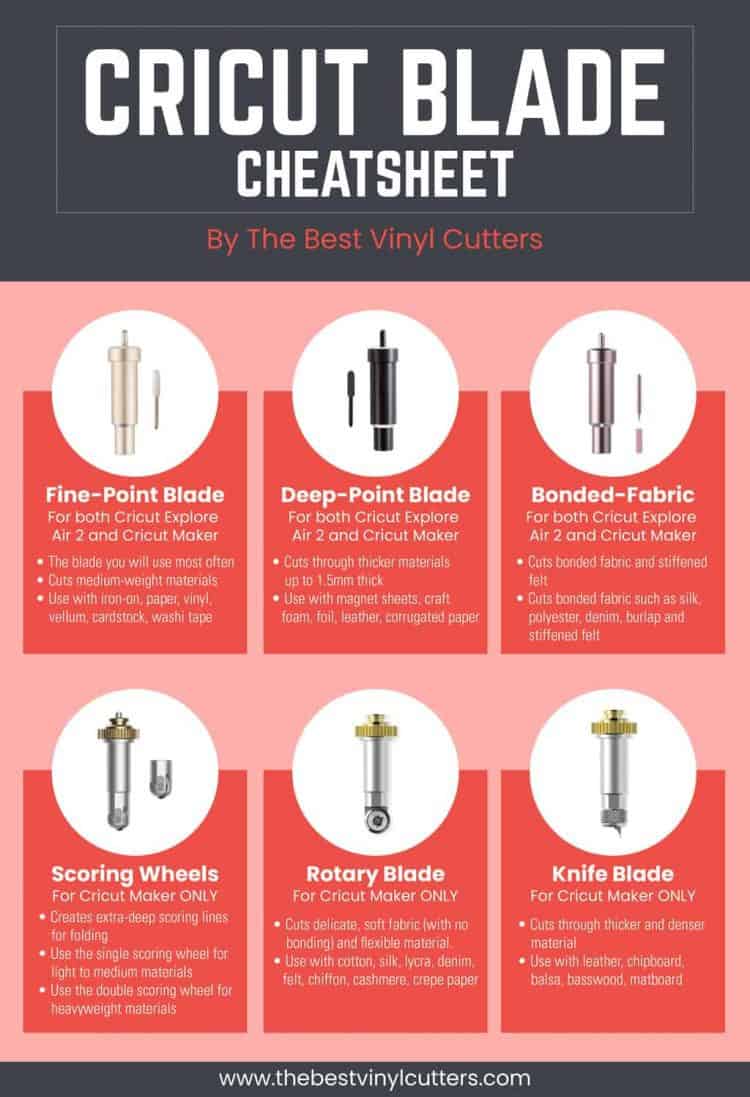
In it, we share all our knowledge on the different types of blades for Cricut Machines.
We share info on how to change and install these blades, as well as give some handy tips on how we keep our Cricut blades sharper for longer.
Cricut Blades: Which Blade to Use for What
There are currently 3 Cricut blades that fit in both the Cricut Explore series and 7 additional blades that fit ONLY in the Cricut Maker machine.
Blades for Cricut Explore AND Maker Machines
Find below 3 Cricut Explore Air 2 blades that will also work on the Cricut Maker Machines.
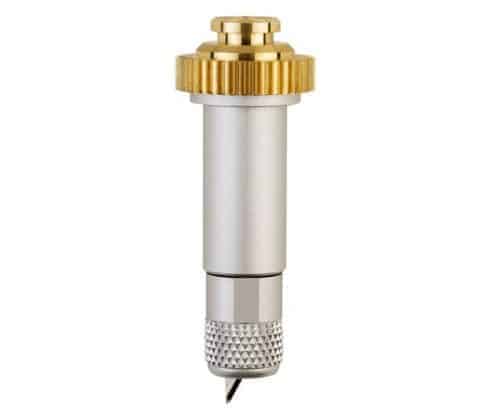
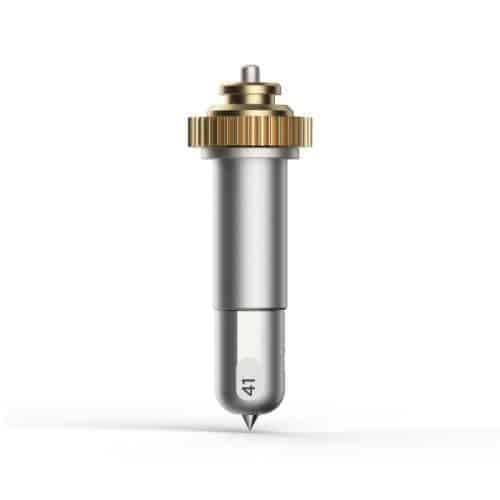
1. Cricut Premium Fine Point Blade
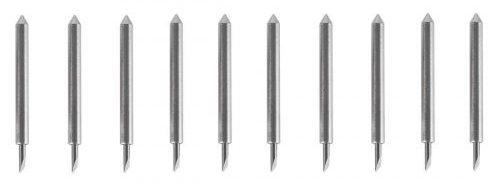
The Cricut Fine Point Blade is also known as the Cricut standard blade (and as the Cricut German Carbide Premium blade).
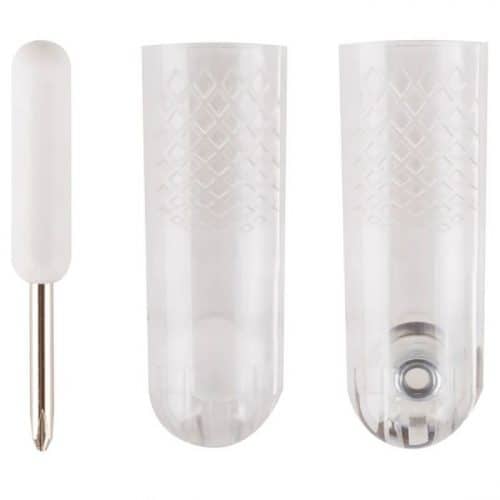
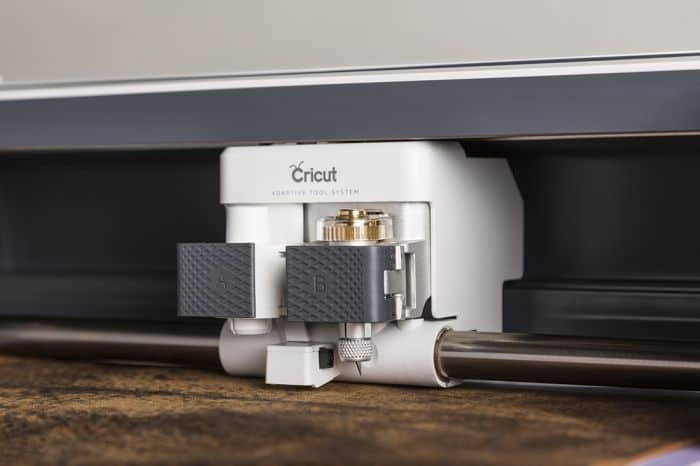
Both the Cricut Explore Air machines as well as the Cricut Maker machine will come with the fine point blade as well as the housing for it.
What to use the fine point blade for:
This blade is used to cut most of your standard materials. This is your Cricut blades for vinyl projects. It can also cut all your light to medium weight materials, such as:
- Heat transfer vinyl
- Adhesive vinyl
- Regular Cardstock
- Paper
- etc.
Tip:
Because you will most likely be using this blade most often, it will be wise to pre-purchase some replacement blades so that when it goes blunt, you have a new one on standby.
You can find replacement Premium Fine Point Blades here.
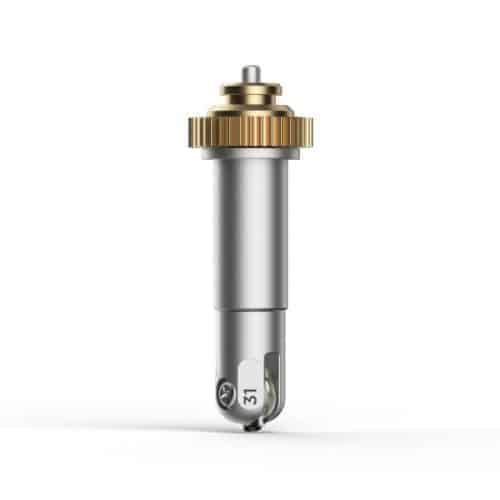
2. Cricut Deep Cut Blade
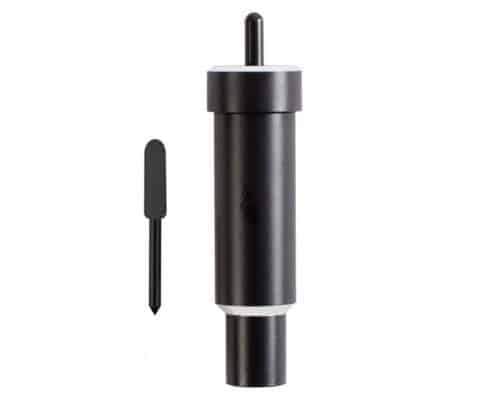
Wanting to work with thicker materials? The Cricut Deep Point Blade is a special blade that has a steeper blade angle in order to slice through harder and thicker materials.
What to use the deep point blade for:
The Deep Cut Blade has been designed to cut harder and thicker materials. The type of material include:
- Cork Board
- Chipboard
- Thick Cardstock
- Craft Foam
- Cardboard
- Foil
- Magnet
- Stiffened Felt
- etc.
Tip:
The Deep Cut Blade is NOT included with the Cricut Machines. You will need to purchase this one additionally. You will also need to purchase the Deep Cut Blade housing.
Grab the Cricut Deep Cut Blade with housing here or replacement Deep Cut Blades here.
3. Cricut Bonded Fabric Blade
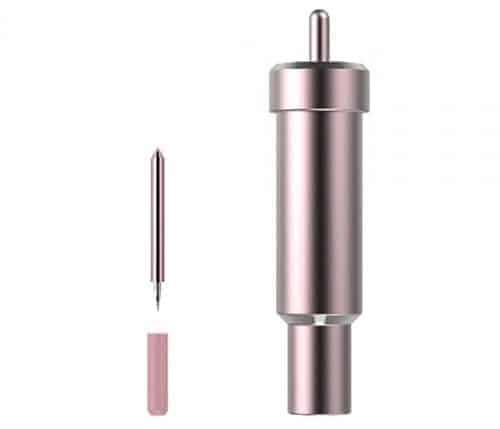
The Bonded Fabric Blade will fit in both the Explore and Maker machines, HOWEVER, there is a much better fabric blade available for the Circut Maker (see below), so I would only recommend the Bonded Fabric Blade for those who wish to cut fabric with the EXPLORE machine.
What to use the bonded fabric blade for:
Well for cutting bonded fabric of course.
What is bonded fabric?
Bonded fabric is basically two pieces of fabric that have bonded or joined together. The Explore machine struggles to cut fabric without it being bonded, so if you wish to cut fabric on the Explore you will either have to use a fabric stiffener or you will need to bond your fabric.
Tip:
The Bonded Fabric Blade is NOT included with the Cricut Machines. You will need to purchase this one additionally. You will also need to purchase the Bonded Fabric Blade housing.
Grab the Bonded Fabric Blade with housing here or replacement Bonded Fabric Blades here.
Cricut Cutting Blades that fits ONLY in the Cricut Maker
The following Cricut Cutting Blades will only work in the Cricut Maker Machine.
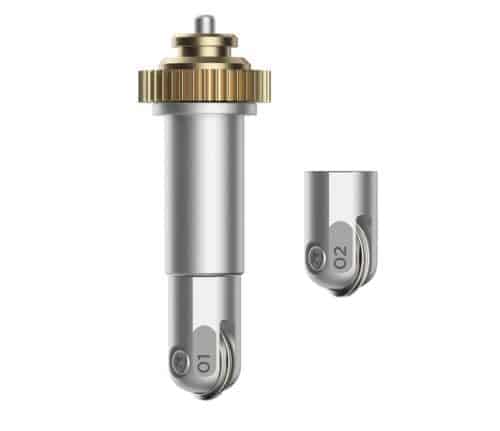
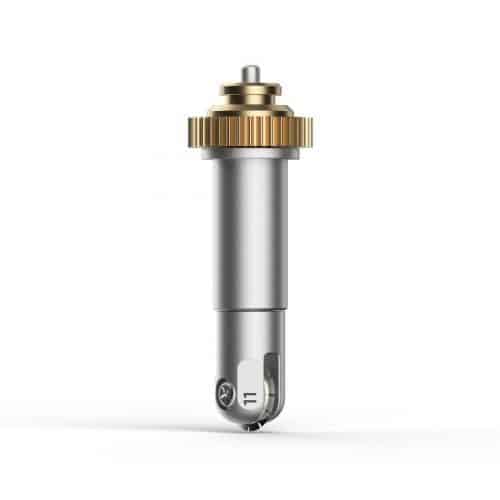
1. Cricut Maker Rotary Blade
The Cricut Maker has the incredible ability to cut super soft fabric without the need to stiffen or back it. In order to do so, you will need to use the Cricut Rotary Blade.
This blade has a tiny rotary wheel in it that can manage to create clean cuts and can manage intricate designs as well.
What to use the bonded fabric blade for:
- Burlap
- Cotton
- Denim
- Silk
- Crepe Paper
Tip:
Your Cricut Maker will come with the Cricut Rotary Blade and the Housing for it, so you will only need to purchase replacement blades when needed.
You can find replacement Rotary Blades here.
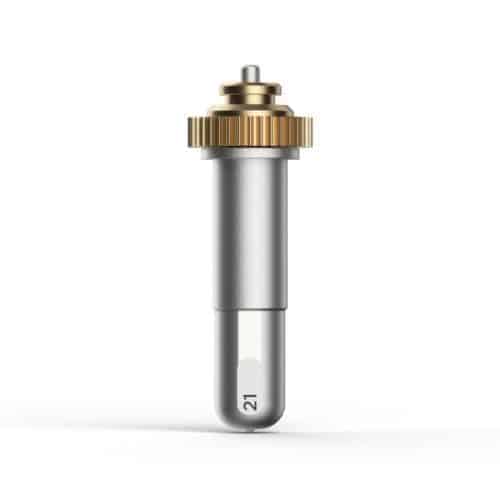
2. Cricut Maker Knife Blade
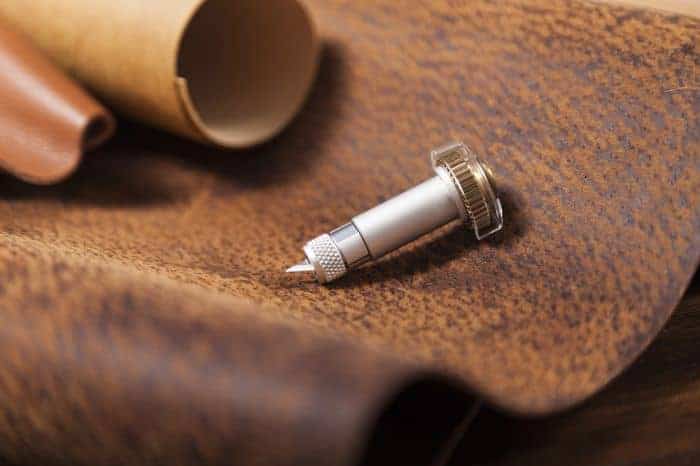
Whilst the Cricut Deep Cut Blade can manage thick materials, the Cricut Knife Blade can manage REALLY thick material. This blade is super sharp and can slice through all the tough stuff like wood.
What to use the knife blade for:
- Wood
- Leather
- Mat Board
- Chipboard
Click here to grab a list of tips that you should know before using the knife blade.
Tip:
The Cricut Maker doesn't come with the knife blade. You will need to purchase both the blade as well as the housing online.
Grab the Knife Blade with housing here or replacement Knife Blades here.
3. Cricut Scoring Wheel and Double Scoring Wheel
This one isn't really a blade, but I thought I would add it in here because it is a really handy tool to have.
The scoring wheel doesn't cut material, what it does do is create some score lines for when you need to fold cardstocks etc in order to make cards or boxes etc.
The wheel comes with two tips: Single and Double. You will use the single scoring wheel for light materials such as cardstock and the double scoring wheel is perfect for thicker material such as cardboard.
You can find the Cricut scoring wheel here.
4. Cricut QuickSwap Wavy Blade
Brand new on the market is the fabulous Cricut QuickSwap tools. The first of which is the lovely Wavy Blade. This blade is fabulous for those who love to create decorative edges to their materials. This blade can add a wavy border to all your standard materials such as iron-on, vinyl, paper, cardstock, fabric, and more.
Tip:
The Cricut Maker doesn't come with the QuickSwap tools. In order to use these tips, you will need to have one QuickSwap housing and you can then swap the tips in and out of this one housing.
Grab the Wavy Blade with housing here or replacement Wavy Tips here.
5. Cricut QuickSwap Engraving Tip
Another brand new tip for the fabulous Cricut QuickSwap blade. This is the super cool QuickSwap Engraving Blade. This tip does exactly what it has been named to do, it engraves. You can use this tip on any flat materials, such as soft metals, leather, acrylic, plastic, anodized or sublimated aluminium, and more.
Tip:
The Cricut Maker doesn't come with the QuickSwap tools. If you already have a QuickSwap housing you will only need to purchase the replacement Engraving Tip, otherwise, you can get the Engraving Tip with the QuickSwap housing here.
6. Cricut QuickSwap Perforation Blade
The third new blade that has been added to the QuickSwap tools list is the fabulous QuickSwap Perforation Blade. This tip is super cool is you love doing projects that include a quick tear feature – such as countdown calendars.
The blade creates perfect tear-offs and easy peel-aways from materials such as paper, cardstock, acetate, poster board, foil, and more.
Tip:
The Cricut Maker doesn't come with the QuickSwap tools. If you already have a QuickSwap housing you will only need to purchase the replacement Perforation Blade, otherwise, you can get the Perforation Blade with the QuickSwap housing here.
7. Cricut QuickSwap Debossing Tip
The last new blade that has been added to the QuickSwap tools list is the debossing tip. The QuickSwap Debossing Tip can be used to create debossed designs which are fabulous for elegant projects such as business cards, wedding invitations, seals and more!
This tip is great for materials such as cardstock, foil poster board, foil cardstock, foil kraft board, poster board, kraft board, basswood, and more.
Tip:
The Cricut Maker doesn't come with the QuickSwap tools. If you already have a QuickSwap housing you will only need to purchase the replacement Debossing Tip, otherwise, you can get the Debossing Tip with the QuickSwap housing here.
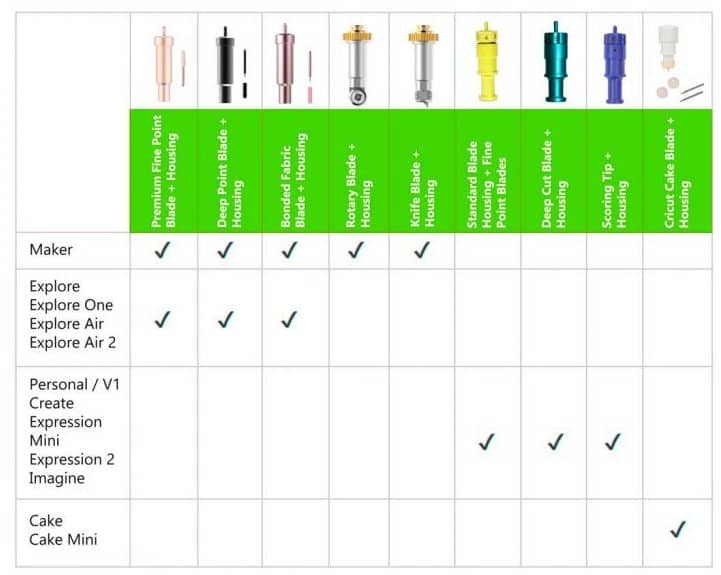
A Handy Table to Print Out
I love this handy table that Cricut has designed for cutting tips, scoring tips, and more. It is handy to have printed out so you can easily refer to it when you need to purchase new blades.
Really easy to see which blades are the Cricut Maker blades and which are the Cricut Explore blades.
When Do You Need Cricut Replacement Blades?
It is fairly easy to notice when a blade needs sharpening or replacing. We all want nice clean cuts if your blade isn't producing a clean cut, well then it is time to replace it. So look out for when it is ripping the material, rather than not cutting it or when the edges of the cuts are jagged.
I love to have replacement blades on hand so that I don't have to pop my project on hold until new ones arrive. While you can get German Carbide tips on Amazon, we do recommend going with brand blades.
How To Keep Your Blades Sharper for Longer
Tip 1 – Use them Correctly:
Your blades will stay sharper if you use them for the things they were designed for. For example, if you use the premium blade on very thick cardstock, the blade will go blunt really quickly as it was never designed to cut thick cardstock in the first place.
Tip 2 – Make it Specific:
I have also heard that some people love to mark their blades for different materials. So you can have a premium fine tip blade for paper and a different one for vinyl. If you do wish to mark your blades, be sure to NOT mark them on the blade, but rather mark them on the cover for the blades.
Tip 3 – How to Sharpen a Cricut Blade:
Another really handy tip is to simply sharpen them. We all know we can sharpen kitchen knives and scissors – well you can do the same thing with your blades. All you need is some foil. Cut a design out of the foil to help sharpen your blades. Easy! Check sharpness by manually cutting some vinyl on a cutting mat.
Now eventually you will find that simply doing the above steps won't be enough and at that point you will really need to invest in some brand new replacement blades.
How to Replace a Cricut Blade
Okay, so you have bought replacement blades, but how do you actually replace them?
For most standard blades, the following steps apply:
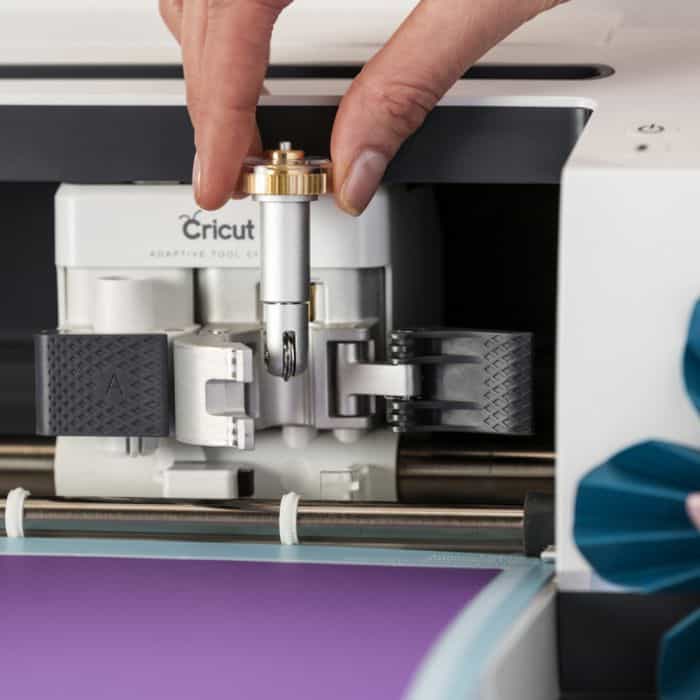
1. Open the blade clamp (marked with a B for “Blade) and remove the housing.
2. Next push the little button on the top of the housing and carefully pull out the blade.
3. Grab your brand new blade and remove the plastic protective cover.
4. Slide the new blade into the housing.
5. Pop the housing back in the machine and close the clamp to hold it securely in place.
Now if you wish to remove the Knife Blade or the Rotary Blade from the Cricut Maker, there are a few small changes to these steps, so I will include some easy to watch videos on how to replace these below.
Cricut Rotary Blade
Cricut Knife Blade
How to Store the Blades
Cricut knows their products really well and they know what we need as consumers. So it is no surprise that they have created a little compartment where you can store your blades.
On the front of your Cricut Machine, you will find some compartments. You can simply pop your additional blades or replacement Cricut blades in the compartment on the left.
Simply pop the housings in the back. The front area has a magnet so storing your blades here keeps things nice and tidy.
Bookmark this Post to Pinterest
Visit our Cricut hub page to grab many more Cricut Tips and Tricks.


This was so helpful. Thank you so much for the time and effort you put into this article.
I cut mainly glitter card for cake decorating but find the blades go blunt to quickly and the mats lose their tacky ness and I have to replace more often than I like. Tried cleaning the mats but to no avail, I am having to use masking tape to make sure the remain in place. Any suggestions as to how I can remedy this would be appreciated.
Hi, the problem with glitter is that the glitter gets on the mat and that will affect the stickiness. You could try using a baby wipe after the cut to try and remove any glitter that got on it, but I find that it is tricky to remove the glitter. Masking tape is a great alternative to make it all last longer. As for the blade, have you tried cleaning it by poking it into a ball of foil? It won’t sharpen it, but sometimes residue builds up on it and it won’t cut as clean? How many glitter sheets do you guess you can cut before you find that it needs to be replaced? Otherwise, have you looked at off-brand blades so that it is more affordable? You can get 30 replacement blades for only $10 https://amzn.to/34VPS3Y
I would like to print out the two pictures of which blade does this/that and what machine takes each blade. Do you have a link to do this instead of me printing the entire article?
Thank you and may you and yours have a blessed Christmas and New Years!
Hi Mary, you can find the image here on our Pinterest Pins https://pin.it/33NoR62 or if you right click on the image you can save it to your PC and print it out. Thanks!